

Crimson Desert throws 29 rideable mounts at you — horses, bears, raptors, dragons, mechs, dinosaurs — and gives you almost no explanation of how the system actually works. You can hop on a bear mid-fight, ride it through a camp, and then watch it walk away the moment you dismount. That’s not a bug. That’s just how most mounts in this game operate.
The distinction between permanent and temporary mounts changes how you think about everything else in this guide. Miss it, and you’ll waste time chasing animals you can never actually keep.
This guide covers every mount type, how to get each one, how the Trust upgrade system works, what gear actually matters, and which mounts are worth the effort at different stages of the game.
Permanent vs. Temporary Mounts — The Difference That Changes Everything
Out of those 29 mounts, the vast majority are temporary. Bears, raptors, dinosaurs, and even the ATAG mech — you can ride all of them, but the moment you dismount, they’re gone. You can’t stable them, you can’t summon them later. They’re more like environmental tools than actual companions.
Horses are the only permanent mounts in the base system. Once you tame and register one, it lives in your stable and you can call it whenever you want.
What temporary mounts are actually good for:
| Mount Type | Best Use | Gone When |
|---|---|---|
| Bear | Clearing packed enemy camps with AoE swipes | You dismount |
| Raptor | Fast hit-and-run attacks on slower targets | You dismount |
| ATAG Mech | Explosive area damage (Chapter 10 context) | Quest ends |
Treat temporary mounts as situational weapons, not transportation. When you find a raptor during a fight, jump on it. When you’re done, let it go. Plan your actual traversal around horses.
Buy services for
Crimson Desert!
Get help with the parts of the game that take the most time. Browse available services or place a custom order.
Order
How to Get Your First Horse and Tame Wild Ones in Crimson Desert
Your starting mount is Hespia, handed to you shortly after the prologue. It gets the job done early on, but its stats are low — speed and acceleration cap out at the second bar — so you’ll want to replace it once you’re out of Hernand.
Wild horses spawn in open areas across Pywel. Two reliable spots near the start: the land between two streams east of Hernand Town, and the fields south of the river below the cliffs leading to Howling Hill. You don’t need to unlock anything to tame them. The game formally introduces the mechanic in Chapter 6, but you can attempt it the moment you see a horse running around.
Step-by-step taming:
- Approach from behind — horses bolt if you come at them head-on
- Drop food (hay, carrots, sugar beets, sugar cubes) near the horse to pull it toward you instead of chasing it
- Sprint the last stretch and hit the Interact button to mount
- A circular meter appears — steer your analog stick toward the horse’s tail as it bucks
- Fill the meter before your stamina runs out
The direction control is the part most players get wrong. The trick: hold S and keep rotating your camera to stay behind the horse as it spins. It’s not the “intended” method but it works, and it’s easier than trying to match key presses to each direction change.
If you get thrown, the horse stays nearby. Run up and try again.
After taming, you get two options: register the horse and send it to the stable, or mount it. Register it unless you’re mid-quest. Registered horses are available at any stable merchant across Pywel.
Crimson Desert Horse Breeds — Stats and Skills Compared
There are five regular horse breeds: Brianto, Herspia, Priden, Numont, and Elantrima. The three you’ll tame most often in the wild are Brianto, Herspia, and Priden. They look different and have different stat spreads, but the practical gap between them stays small until Trust Level 5.
That’s where the Priden stands out. It unlocks High Jump at Level 5, which the other two breeds don’t get. If you care about vertical mobility — reaching high ledges, climbing faster — tame a Priden early and commit to leveling it.
Each character you unlock also gets their own starting horse, so keep a couple stabled across different breeds rather than dumping everything into one.
How the Trust System Works — Upgrading Your Mount in Crimson Desert
Trust is the upgrade currency for horses. It runs from Level 1 to Level 5, and each level unlocks a new skill. The system is passive-friendly — just using your horse regularly is enough — but you can speed it up.
Three ways to build Trust:
- Ride it — slowest method but guaranteed; just using your horse as normal will eventually level it up
- Pet it — summon your horse, hold CTRL on PC (LB on controller), and press R; there’s a daily cap on how much Trust this earns
- Feed it — hay, sugarbeet, sugar cubes, or oats and apples dropped nearby; feeding grants Trust up to three times per day; keep other horses away when dropping food or they’ll eat it first
The fastest approach is stacking all three daily. Pet it when you log in, feed it three times across the session, and ride it everywhere in between.
Skills that unlock at each Trust Level:
| Trust Level | Skill Unlocked |
|---|---|
| 2 | Dash (hold the sprint key for a speed burst) |
| 3 | Back Kick (active attack while mounted) |
| 4 | Sprint (sustained high speed) |
| 5 | Breed-specific skill (e.g., High Jump for Priden) |
One thing to watch: mounts build up fatigue over long rides. A fatigued horse loses speed fast. You can restore it at a stable, feed it high-quality crops, or use the Healing Force Palm ability while dismounted. That last option is the quickest once you’ve unlocked it — no stable visit needed.
Horse Gear in Crimson Desert — What to Buy and What to Skip
Horse equipment has five slots: Saddle, Horseshoe, Stirrups, Champron, and Barding. Most of it comes from Saddlery shops in major cities:
- Annabella’s Saddlery, northeast of Hernand
- Eldred’s, in Pailune
- Bruna’s and Fiona’s, in Demeniss
Bardings are the exception — they’re rare and usually earned through Contribution Points with a specific region’s faction, not bought outright.
For early-to-mid game, prioritize Horseshoes first (direct speed boost) and the Saddle second (stamina). The rest are nice to have but won’t change how your horse feels day-to-day as much as those two.
You can swap equipment anywhere. Mount up, open your inventory, select the horse’s tab, and equip from there. The equipment changes also alter your horse’s visual appearance, which some players care about more than the stats.
Crimson Desert Legendary Horses — Rokade, Royler, and Camora Locations
Three legendary horses exist in Pywel. They have higher base stats than anything you’ll tame in the wild, and their taming minigame is significantly harder. These horses run fast, turn quickly, and drain your stamina aggressively during the attempt.
Before you try any of them, get your Stamina to at least Level 6. For Royler, aim for Level 8 or higher. Also pack climate-appropriate gear — the northern and southern regions have temperature effects that drain your Stamina even faster.
Legendary horse locations:
- Royler (white) — near Snowgrass Shelter, Silver Wolf Mountain (northwest; cold region — bring warm clothes)
- Rokade (black) — near the Spire of Insight, Steel Mountains
- Camora (red) — Redtree Forest of Tashkalp, southern region (hot climate — pack cold resistance food like Honey Tea)
If you lose sight of a legendary horse during the chase, sprint to a faraway point and come back. They respawn at their original location. Don’t exhaust yourself chasing them off the map.
The taming mechanic is identical to regular horses — fill the circular meter by steering toward the tail — but the horse moves faster and changes direction more often. Take your time, reset if you’re nearly out of stamina, and don’t skip the food prep.
All 5 New Legendary Mounts Added in Patch 1.01.00
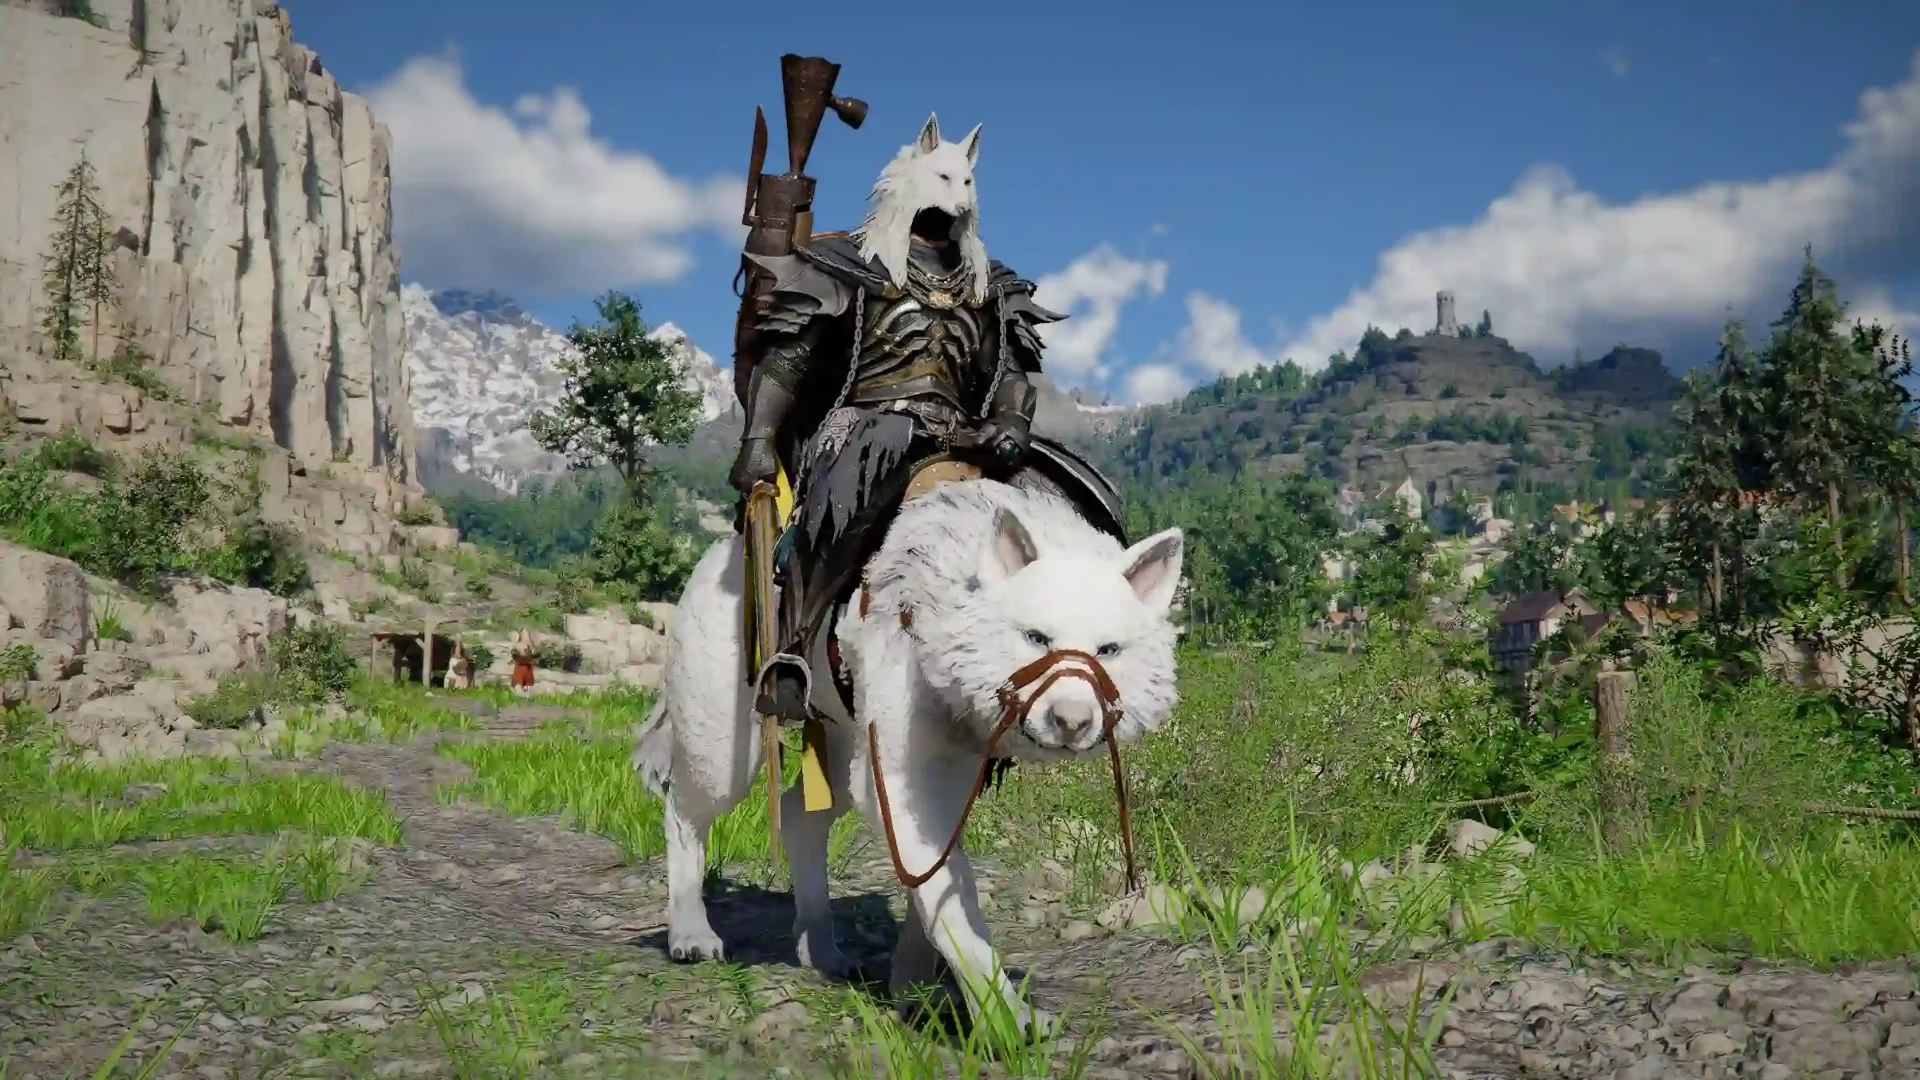
Patch 1.01.00 dropped in late March 2026 and added five completely new mount types: White Bear, Silver Fang, Snowwhite Deer, Rock Tusk Warthog, and Roc. These aren’t tamed like horses. They require hunting, skinning, and crafting through the Witch NPC.
The unlock process for all five:
- Find and defeat the creature or boss in the world
- Skin the carcass immediately — skipping this step means you lose the required soul item
- Collect the unique material from the skinning
- Visit any Witch NPC and select the Craft Abyss Gear option
- Craft the mount summon item with your materials
If you killed any of these creatures before the patch released, check your inventory and storage — the unique items should have appeared automatically after loading your save.
Quick breakdown of each:
Mechanical Mounts in Crimson Desert — Scout Automation, ATAG, and Golden Star Mech
These three are in a different category from everything else. They’re armored exosuits with weapons, not animals. Each one unlocks through a completely different method.
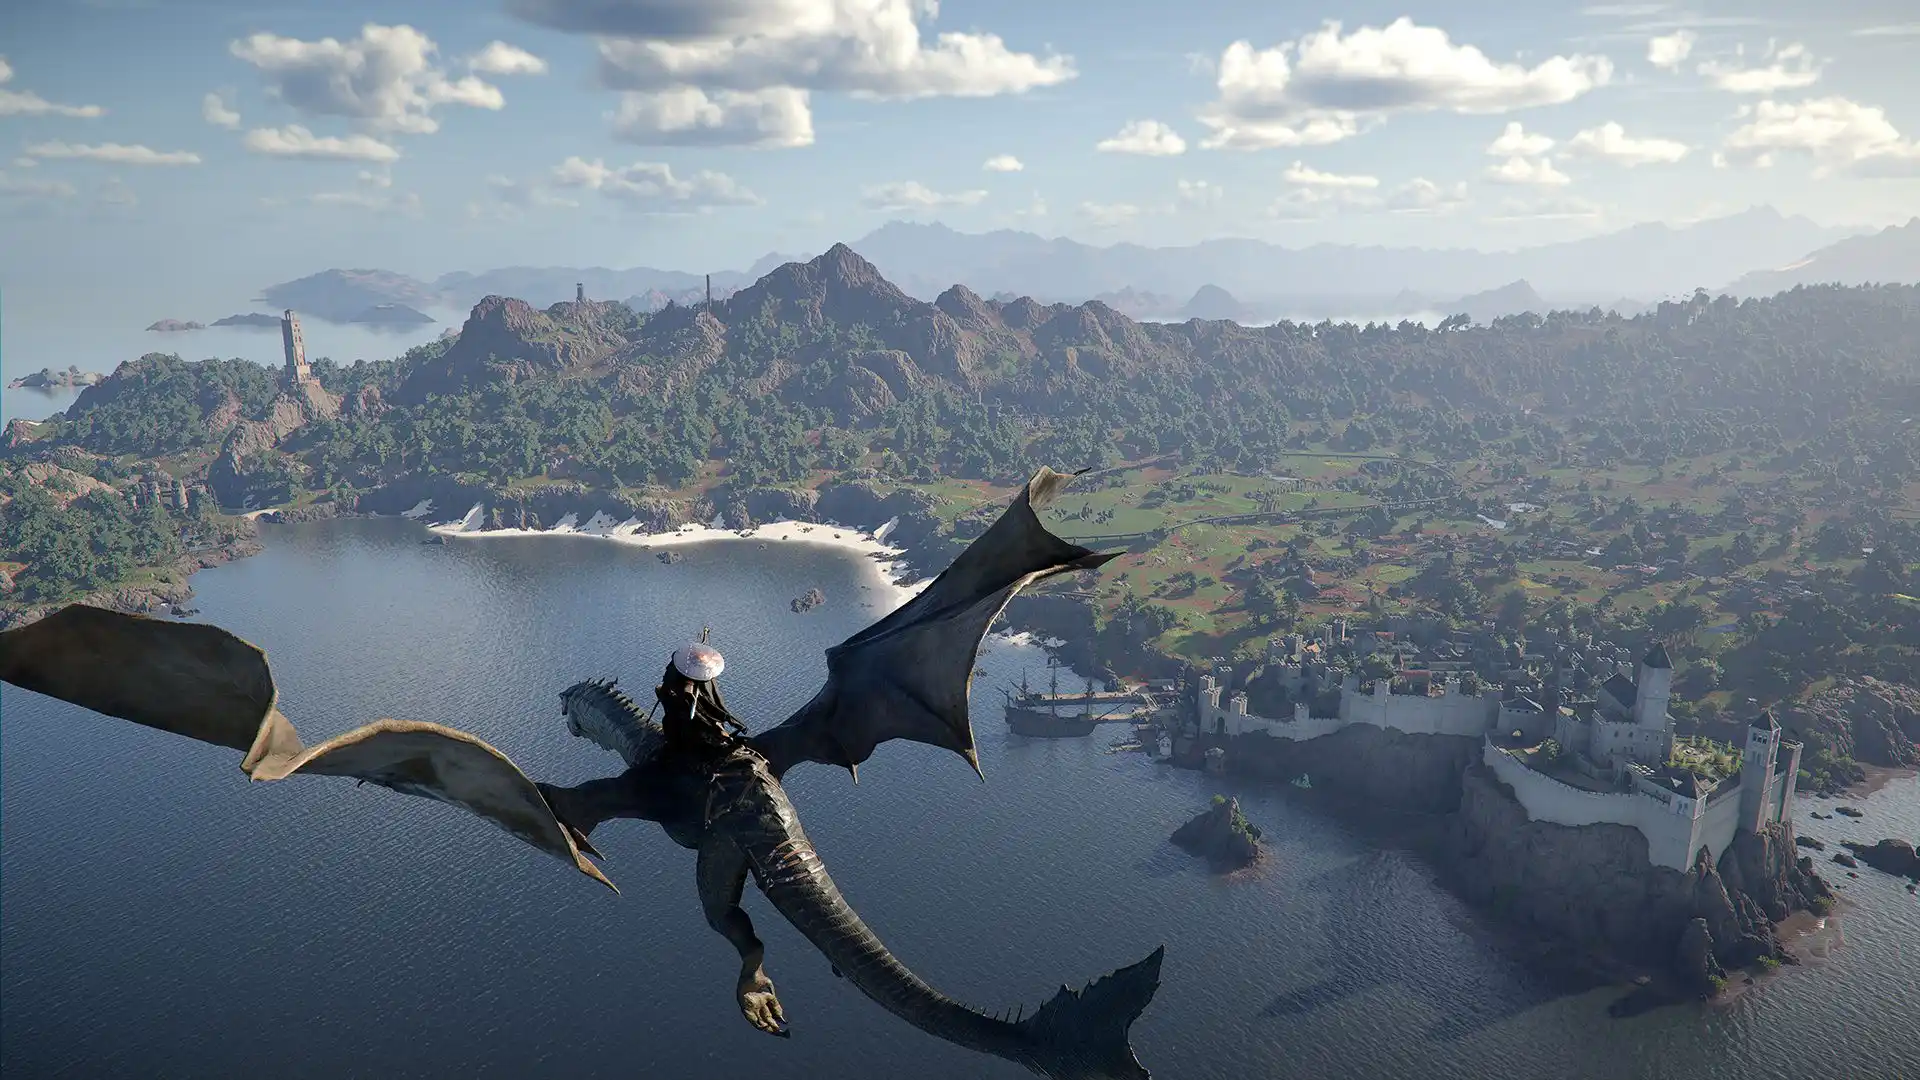
How to Get the Blackstar Dragon Mount in Crimson Desert
The Blackstar Dragon is the one mount everyone’s seen in trailers. It’s real, it’s rideable, and it’s locked behind the late game — you won’t see it until near the end of the campaign.
What makes Blackstar genuinely useful is that it’s the only proper flying mount with combat capabilities. The catch is a strict time limit that forces you to plan your routes.
Once summoned, you have 15 minutes of flight time. After that, or if you dismiss the dragon manually, it enters a 50-minute real-time cooldown that cannot be skipped. No sleeping, no items, no workarounds. The cooldown ticks in real time regardless of what you’re doing.
That means you shouldn’t use Blackstar for short hops between nearby points. Save it for long cross-region flights where it actually cuts travel time down significantly. Plan your route before you summon, fly purposefully, and dismiss it when you’re done to start the cooldown early.
Buy services for
Crimson Desert!
Get help with the parts of the game that take the most time. Browse available services or place a custom order.
Order
Best Mounts for Each Situation — Crimson Desert Tier Breakdown
No single mount does everything. The game is built around switching based on what you’re doing.
| Goal | Best Mount | Reason |
|---|---|---|
| Early traversal | Priden at Trust 5 | High Jump + Sprint makes exploration fast |
| Sustained long rides | Snowwhite Deer | 300+ Stamina, doesn't fatigue quickly |
| Ground combat power | White Bear | Highest base damage of any mount (180 ATK) |
| Mid-game aerial travel | Roc | Available before Blackstar |
| Late-game combat utility | ATAG (post-Ch.11) | Best all-around mechanical firepower |
| Aerial speed and range | Blackstar Dragon | Only true flying combat mount |
| Pure endgame chaos | Golden Star Mech / Dwarven Mech | Can fly, shoot missiles, and clear groups solo |
For the first half of the game, a Trust Level 5 Priden with Horseshoes and a Saddle equipped will handle 90% of what you need. Once Patch 1.01.00 content opens up, the Snowwhite Deer replaces it for exploration and the White Bear replaces it for fights where you want your mount doing damage.
The Blackstar Dragon is great when you need it, but 15 minutes goes faster than you think. Use it intentionally.