

Crimson Desert doesn’t follow the rules of a typical RPG. There’s no experience bar ticking up, no level number climbing in the corner. Your character’s power comes entirely from one resource: Abyss Artifacts. The problem? The game hands you this system without much of an explanation, and players regularly find themselves hours in, still confused about why Kliff feels underpowered.
This guide cuts through that confusion. You’ll learn exactly where to find Abyss Artifacts efficiently, which skill nodes to prioritize for Kliff’s build, and how the Elemental Imbuement system actually works — including the one reason it stays locked no matter how many Artifacts you have. Whether you’re trying to prepare for a tough boss or just want to stop feeling lost in the skill tree, everything you need is here.
What Are Abyss Artifacts and How Does Progression Work in Crimson Desert
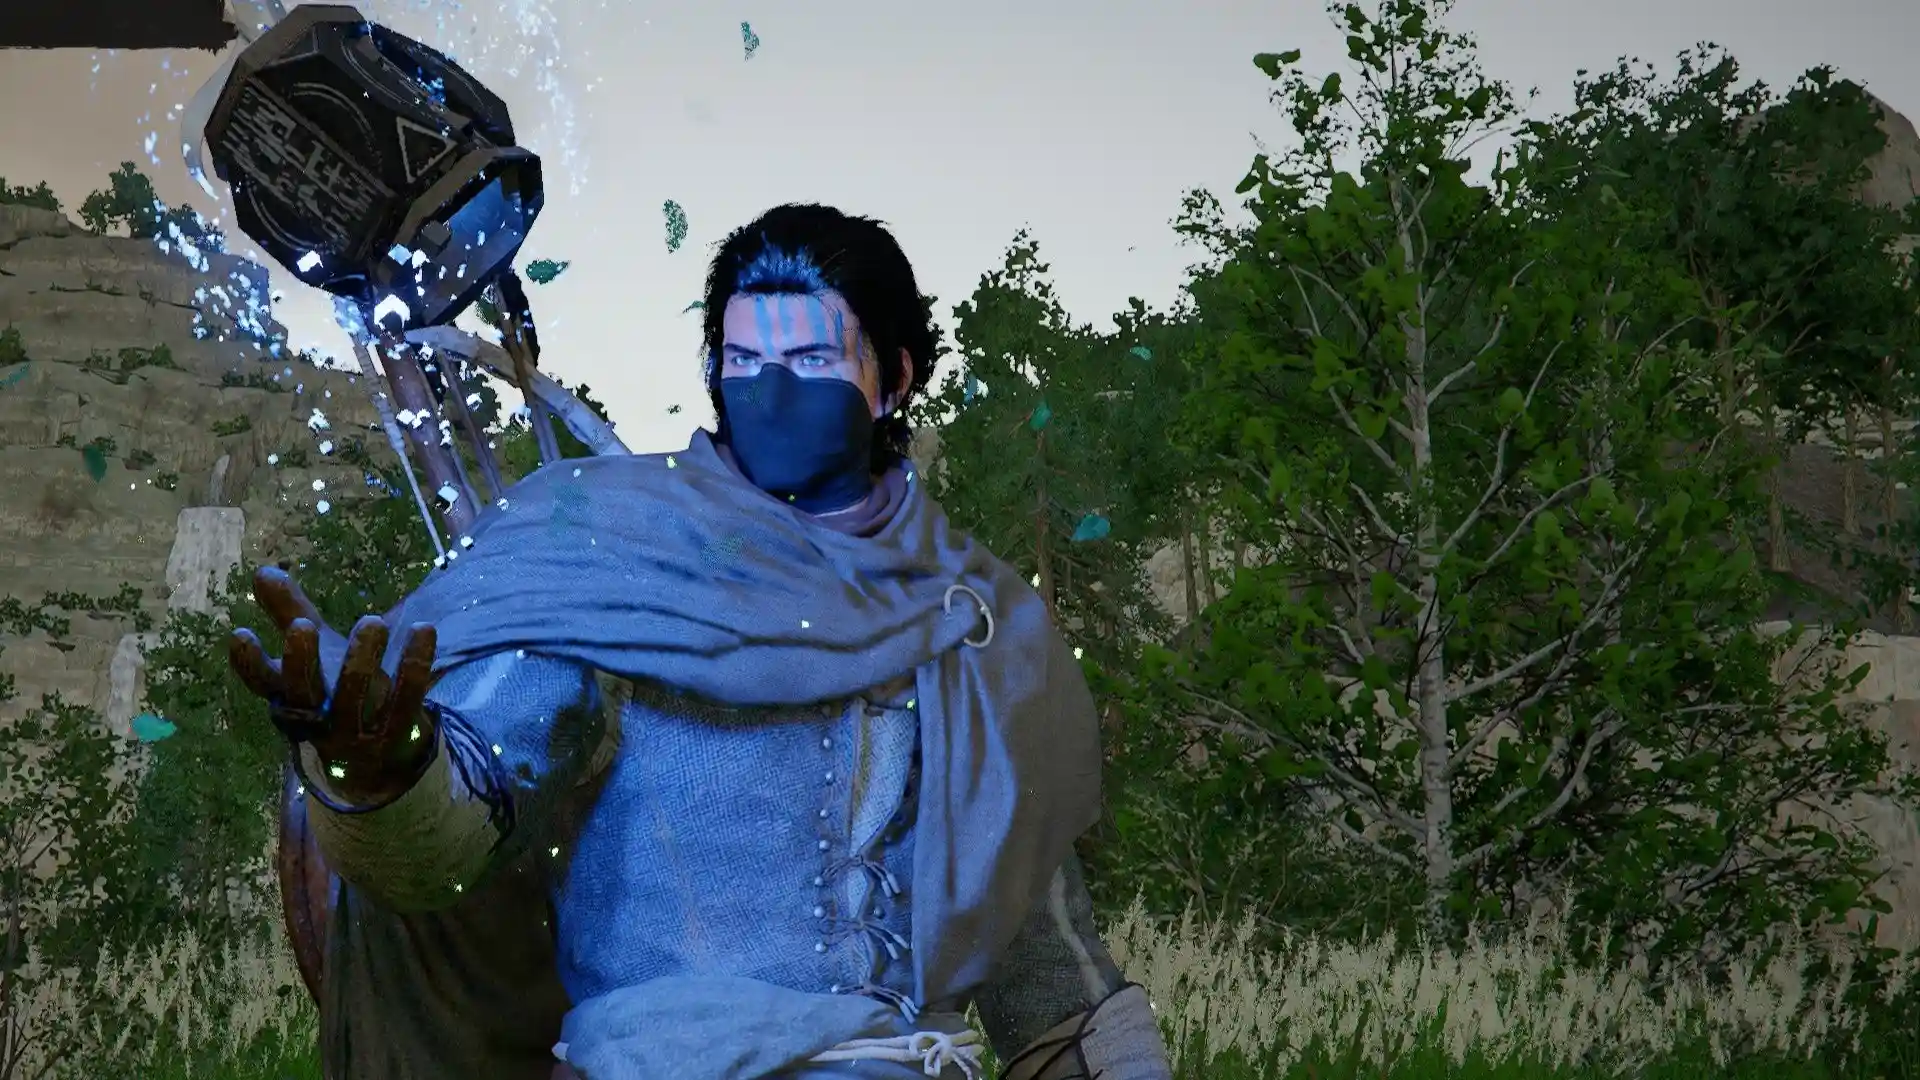
Abyss Artifacts are the single currency that drives everything in Crimson Desert. Every skill unlock, every stat increase, and every high-tier gear refinement runs through them. The game replaces traditional experience-based leveling entirely — Kliff, Damiane, and Oongka all grow through Artifacts and gear, nothing else.
There are three types you’ll encounter:
- Abyss Artifacts — the standard skill point currency used to unlock and upgrade abilities
- Faded Abyss Artifacts — used to reset skill points if you want to reallocate your build
- Abyss Gears — weapon and armor mods that slot into your equipment for bonus effects
One thing many players miss: the Artifact pool is shared across all three playable characters. Every point you spend on Kliff is a point you’re not spending on Damiane or Oongka. This makes early spending decisions more important than they appear.
There’s also a hidden progress mechanic sitting right in front of you the whole time. A golden bar to the left of the minimap fills as you defeat enemies. Fill it completely and you receive one Abyss Artifact — with no daily cap, no session limit. You can repeat this cycle indefinitely.
Buy services for
Crimson Desert!
Get help with the parts of the game that take the most time. Browse available services or place a custom order.
Order
Where to Find Abyss Artifacts Fast: All 7 Sources Ranked by Efficiency
- Enemy Kill Bar — Unlimited and Always Available
The fastest repeatable method. Target Blockaded areas marked with red building icons on the world map. These zones pack dense enemy groups that respawn as you rotate between them. During main quest sequences that throw waves at you, slow down and fight — don’t rush to the waypoint. Every kill counts toward the bar.
- Sealed Abyss Artifacts — 141 Collectibles Across Pywel
These polygon-shaped objects are scattered across the entire map, each requiring a challenge to unlock — defeating enemies with a specific weapon, completing a movement task, riding between two locations.
There are 141 total. They only show a purple icon on your minimap when you’re physically close, so passive exploration is the main way to find them. To spot them from a distance: activate Blinding Flash (lantern button + light attack simultaneously). The glints you see in the distance are either Sealed Artifacts, Abyss Nexus points, or Cresset puzzles.
Completing a Sealed Artifact challenge always rewards at least one Artifact. Some also give Faded Artifacts or Abyss Gears.
- Scholastone Institute Pickpocket Runs — Best Active Farm
West of Hernand. Each run through the scholars here yields around 3–4 Artifacts. Use the fast travel point south of the institute to reset the loot. If you have the Ledgermain Abyss Gear slotted, it adds a chance to duplicate whatever you steal.
Note: pickpocketing is flagged as a crime. Leave the red circle quickly or guards will take your mask and silver — though you keep the Artifact either way.
- Greymane Rumor Quests — High Efficiency, Low Effort
Found under the Faction Quests tab in your Journal. Each Rumor quest follows the same short loop: find a Greymane survivor somewhere in Pywel, escort them back to camp, collect one Artifact. New quests unlock as the story progresses. Check this tab every time you return to camp — backlogs build up fast if you ignore it.
- Abyss Cresset Puzzles — Dual Reward
Pillar-like structures found across the world. Unlike Abyss Nexuses (which activate by stepping on them), Cressets require solving a puzzle first — statue rotation challenges, environmental logic problems, riddles. Completing one gives you an Artifact and activates the node as a fast travel point.
- Main Quests and Boss Fights
Certain main quest chapters reward Artifacts on completion — Chapter 2: Flames of Greed and Chapter 4: Gate to the Otherworld are early examples. Major bosses drop one Artifact each on defeat. These aren’t reliable farming sources, but don’t skip them.
- Witch Vendors and Patrigio the Wandering Merchant
Both sell Artifacts for 28.5 silver each. Stock is limited and does not reset. Use this as a last resort only, and save your silver for better uses early on.
Important: Avoid spending Artifacts on gear upgrades in the early and mid-game. Even mid-game, it’s worth holding off until you’ve locked in your core skills. If you do spend on gear, prioritize Damiane and Oongka — there are boss fights where you play as them, and being underprepared makes those sequences significantly harder.
Kliff's Skill Tree Explained: Three Branches, One Shared Budget
The skill tree opens in full the moment you start the game. Every node is visible. But with Artifacts scarce early on, the open layout is more of a trap than a feature — spending wrong costs you later.
The tree splits into three color-coded branches:
| Branch | Color | What It Covers |
|---|---|---|
| Health | Red | HP, elemental abilities, traversal tools (Flight, Aerial Roll), Axiom Force skills |
| Stamina | Blue | Endurance, weapon combat chains, unarmed strikes, ranged/bow skills |
| Spirit (Mind) | Green | Special abilities, Force Palm, regeneration, environmental interactions |
Before spending anything, understand the Watch & Learn mechanic. When an enemy or NPC performs a move, time slows briefly, the screen shifts blue, and a progress bar appears (1/3 → 2/3 → 3/3). Fill it and the skill is yours for free. Several key early skills — Evasive Roll, Clothesline, Dropkick, Pump Kick — can all be learned this way. Never spend Artifacts on a skill you can observe instead.

Best Skill Nodes for Kliff: What to Unlock First and What to Skip
Tier 1 — Spend Your First Artifacts Here
| Skill | Branch | Reason |
|---|---|---|
| Health (Lvl 1–3) | Red | Early bosses like the Reed Devil hit hard. Even small HP increases change the margin between dying and surviving long enough to heal. |
| Stamina (Lvl 1–3) | Blue | Stamina powers dodging, blocking, heavy attacks, sprinting, and climbing. Players who invest in it early have a fundamentally different experience. |
| Keen Senses → Dodge (Lvl 2) | Blue | Unlocks the Dodge ability — Kliff avoids a hit right before it lands. Pairs with Evasive Slash once you have Armed Combat Lvl 2. |
| Blinding Flash Finisher | Blue | One Artifact, enormous return. Trigger Blinding Flash, follow up with heavy attacks. Works on all weapon types and bosses. One of the strongest crowd control tools in the game. |
Tier 2 — Priority After Tier 1 Is Done
- Armed Combat (Lvl 2+): Most of what you do is sword combat. Each level raises base damage and unlocks moves like Evasive Slash. At max level, Rend Armor ignores enemy super armor and sends them airborne — critical for boss fights.
- Keen Senses → Counter (Lvl 3): Instead of timing a block, you attack right before impact to interrupt the enemy’s move. Transforms how boss encounters feel.
- Force Palm (Spirit Tree): Opens a chain of follow-up abilities. Aerial Force Palm lets you activate it up to three times while airborne, improving vertical traversal without draining your Stamina bar.
- Focused Shot (Lvl 3): Slows time while aiming, lets you mark multiple targets, then releases a Charged Shot on each one simultaneously. If Spirit holds, you can loop it.
- Spirit (Lvl 1–5): Spirit is your mana. It powers special abilities and regenerates when you kill enemies. Five levels is the minimum to feel comfortable — below that, you’ll run dry mid-combo.
Skills to Get for Free — Don’t Spend Artifacts
- Evasive Roll — learned during the Kailok the Hornsplitter boss fight in Chapter 2
- Clothesline, Dropkick, Pump Kick — all available through the Watch & Learn system from enemies
- Focused Force Palm — missable if you skip the Chapter 4 story path; prioritize it then rather than waiting until Chapter 9
Skills to Skip Early
Winch (scorpion-pull into chokeslam) and Ambush (teleport + slash) are satisfying to use but offer little practical value against bosses or groups early on. Hold these for when you have a surplus.
Elemental Imbuement in Crimson Desert: Why It's Locked and How to Actually Unlock It
This is the most misunderstood system in the game. You can sit in the skill tree with 15 Artifacts ready, stare at the elemental skill nodes in the red branch, spend nothing, and wonder what’s broken. Here’s why:
Elemental skills cannot be unlocked with Abyss Artifacts. They look like standard skill nodes, but they work differently. Each element is locked behind a specific Spire in the open world. You climb the Spire, complete the Abyss puzzle inside, and the element unlocks automatically — then it appears as an active skill in your tree that you can now upgrade with Artifacts.
One more thing worth knowing: unlocking an element on any character unlocks it for all three. If you complete a Frost puzzle as Kliff, Damiane and Oongka get Frost too.
The Four Elements and Where to Find Them
| Element | Spire Location | Available From | Unlock Path |
|---|---|---|---|
| Frost | Spire of Ringing Truth (West Pailune) | ~Chapter 4 | Complete the Path of Trials at the top of the Spire |
| Flame | Same Spire of Ringing Truth chain | ~Chapter 4 | Continue past Frost to the Sanctorum of Darkness → Tree of Slumber |
| Lightning | Spire of the Stars (SW Hernand, near Scholastone) | Chapter 4 | Sanctorum of Insight → Secret Garden → Vault of Vengeance → Courtyard of Precision |
| Wind/Storm | Spire of Clockwork (East Demeniss) | After Chapter 8 | Complete the Riddle Square puzzle |
Frost and Flame are both accessible through the same Spire chain and are the earliest elements you can grab. Lightning becomes available once you reach Scholastone around Chapter 4. Wind is the last unlock, gated behind story progression.
How to Activate and Use Elemental Imbuement
Open the Function Wheel (D-Pad Right on controller / F3 on keyboard) and select the element you want active. Once selected, that element can be imbued into four specific moves:
- Turning Slash
- Meteor Kick
- Force Palm
- Charged Shot (bow)
All elemental attacks consume Spirit Energy. Elemental Turning Slash costs 20 Spirit per use, for example. Managing your Spirit pool is essential in extended fights — burn through it too fast and you lose access to your most powerful moves.
What Each Element Does in Combat
| Element | Effect | Best Use |
|---|---|---|
| Frost | Freezes enemies | Crowd control, boss lockdown |
| Flame | Burns, AoE damage | General DPS, best default vs unknown enemies |
| Lightning | Paralyzes, stronger in rain | Shielded enemies, wet enemies take bonus damage |
| Wind | Launches enemies into the air | Combo starters, controlling space |
For boss fights where you don’t know the weakness, default to Flame — its raw damage output is strong enough to compete with or beat a matched weakness from most other elements. Frost becomes the better pick when you need extended crowd control, as bosses weak to it can be repeatedly frozen under sustained imbued attacks.
Advanced players chain elements within a single combo sequence. A common pattern: launch an enemy with Wind, apply Flame damage during the aerial, then finish with Frost to freeze on landing. Lightning against a wet enemy (rain, or a shattered ice surface from a previous hit) extends paralysis duration significantly.
How to Spend Abyss Artifacts Without Wasting Them
Poor Artifact management is the main reason players feel stuck mid-game. A few principles that prevent it:
- Always raise Health and Stamina to a functional baseline before investing in flashy combat skills
- Balance spending between the skill tree and gear refinement as you progress — dumping everything into one system starves the other
- Don’t unlock skills available for free through observation
- Once you unlock your first element, allocate Artifacts toward upgrading the Imbue Element skill — elemental attacks dramatically increase your damage output and make most content easier
- Use Faded Abyss Artifacts to respec if your build isn’t working; they’re obtainable through quests, exploration, and vendors, so experimentation carries no permanent cost
Skip the Grind — Let Professionals Handle It
Collecting all 141 Sealed Artifacts, clearing every Spire puzzle, and building an optimized skill loadout for Kliff takes dozens of hours — even with a complete guide. If you’d rather jump straight to a fully built character, our Character Power-Leveling and Skill Unlocking service covers everything:
- Full Sealed Abyss Artifact collection across all of Pywel
- Priority skill node unlocking for Kliff (Damiane and Oongka available on request)
- All four Elemental Imbuements unlocked via Spire completions
- Artifact budget optimized — no wasted points, no backtracking
No grinding. No confusion. Just a character ready for the late game.
Buy services for
Crimson Desert!
Get help with the parts of the game that take the most time. Browse available services or place a custom order.
Order