

Every loadout in Marathon comes with real stakes. You’re not just building a list—you’re putting your resources, hard-earned gear, and every future extraction on the line. Choosing a weapon or a set of mods isn’t a casual pick; it’s a commitment that shapes your entire raid, from your first shot fired to your final evac. With Marathon’s extraction risk and the threat of permanent gear loss, these decisions go far beyond “what looks cool” or “what sounds strong.”
Services
Coming Soon!
We don’t offer services for this game yet.
If you have a specific request, please let us know!
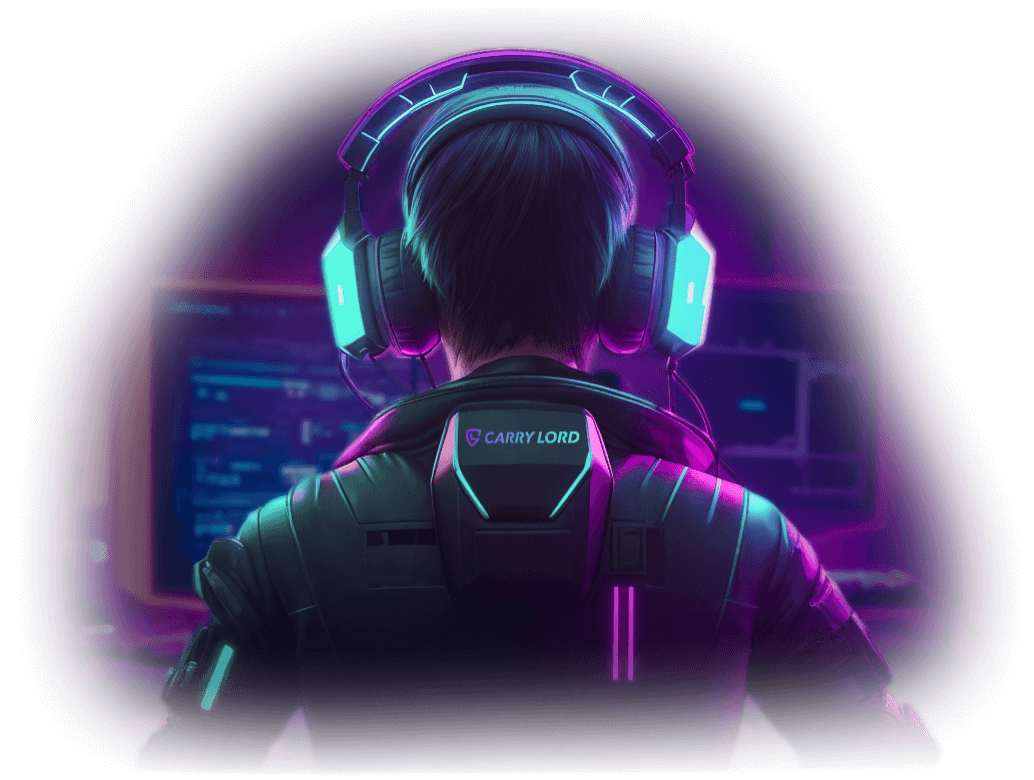
Marathon Builds & Loadouts: Strategy, Risk, and Support
Players feel the pressure because one wrong decision can haunt your next few sessions—or wipe out hours of progress. There’s a real anxiety that comes with the threat of irreversible mistakes: picking the wrong gun, forgetting a key mod, or walking in with a kit that just can’t stand up to the current meta. It’s easy to get lost in patch notes, second-guess what actually wins fights, or wonder if you’re missing a crucial piece that everyone else is using.
This isn’t just about firepower. Your build determines how you move, how you scout, and whether you’re the hunter or the hunted. Your loadout is your playstyle—a reflection of how you want to survive, push, or outsmart every other competitor in the zone.
Expert advice and hands-on help can make a massive difference, guiding you away from costly errors and toward choices that actually fit your goals. But before you get there, it’s vital to understand the core decisions you’re making—and why every slot in your kit matters so much.
- Extraction risk makes every gear choice matter—lose, and it’s gone for good.
- The meta is always shifting, making it tough to keep up with what’s genuinely effective.
- Irreversible mistakes (wrong mods, missing tools) can ruin a run or cost you hours.
- Missing out on “must-have” items can feel punishing, especially in high-stakes matches.
- Your loadout decides your entire approach: aggression, stealth, or strategic extraction.
- Understanding your choices now sets you up for smarter, safer, and more confident raids.
How Marathon’s Systems Turn Build Choices Into Risk and Reward
Every decision you make in Marathon’s build system has direct, high-stakes consequences when the match is on. There’s no safety net: equipment lost on extraction failure is gone for good, forcing you to weigh every upgrade, attachment, and tool against the ever-present risk of losing it all. This isn’t just about maximizing firepower; it’s about managing your heat signature, stretching workshop resources, and tipping the odds of survival in your favor.
The heat system reacts to every tactical choice, from the weapons you carry to the gear you deploy mid-mission. High-powered loadouts might give you an edge in combat, but they ramp up your detectability and resource consumption fast, making you a bigger target and burning through your reserves. Balancing power, utility, and heat output is the line between a successful extraction and walking away empty-handed—or not walking away at all.
Extraction isn’t just an endpoint; it’s a test of your entire build strategy. Surviving gunfights is only half the battle. The real challenge is getting out with your gear intact and your resources unspent, so you can reinvest, upgrade, and dive back in stronger.
- Heat Management — Every weapon, mod, and deployable adds to your heat, affecting how easily opponents can track you and how quickly you drain vital resources.
- Resource Strain — Heavy or specialized builds demand more workshop investment and rapid resource consumption, leaving less margin for error during missions.
- Extraction Odds — High-risk loadouts improve your firepower but make stealthier extractions harder, raising the stakes each time you go for the exit.
- Permanent Gear Loss — Any item on your character is at risk; failed extractions mean permanent loss, making each build choice a gamble with your inventory.
- Survivability Tradeoffs — Choosing between utility, firepower, and stealth directly impacts how you’ll handle dynamic encounters and adapt to changing mission threats.
- Workshop Investment — Unlocking new tech or rebuilding lost gear ties up resources and time, so efficient builds preserve your progress and keep your options open.
- Flexibility vs. Specialization — Broad, adaptable loadouts give you more ways to respond, but specialized builds can dominate—if you’re willing to risk everything for a bigger payoff.
Major Build Archetypes and Playstyle Paths in Marathon
Ready to find your fit? The next section breaks down how to match these core builds to your goals, helping you choose a playstyle that turns each run into a win.
Choosing Your Core Approach: Heat, Mobility, and Protection Trade-offs
| Core Approach | Heat Efficiency | Mobility | Protection Level | Risk Appetite |
|---|---|---|---|---|
| High Heat, Max Speed | Demands constant attention to cooling, best for focused players. | Blazing fast movement, ideal for aggressive repositioning. | Minimal armor, every mistake is punishing. | Suits thrill-seekers who accept high stakes for speed. |
| Balanced Hybrid | Moderate heat to manage, casual monitoring needed. | Good mobility without sacrificing too much stability. | Decent armor, can shrug off minor slip-ups. | Fits adaptable players who want to hedge their bets. |
| Heavy Protection | Runs cool, heat rarely spikes unless overextended. | Slowest rotations, expect sluggish escapes. | Maximum armor, can absorb heavy fire. | Built for cautious players willing to trade tempo for safety. |
| Stealth-Focused | Moderate heat, but spikes during silent sprints. | Quick when undetected, but risky if discovered. | Light armor, must avoid direct firefights. | Appeals to tacticians who accept fragile margins for surprise. |
| Adaptive All-Rounder | Balanced heat, easy to adjust mid-raid. | Flexible—can speed up or bunker down as needed. | Varies by mod choice, change on the fly. | For experimenters who tweak builds to suit changing threats. |
YOUR GAMING EXPERIENCE WITH UNMATCHED IN-GAME SERVICES!
In the realm of online gaming, where competition is fierce and challenges are boundless, achieving excellence and standing out amidst the gaming community requires more than just skill and strategy. It necessitates the assistance of professionals who can provide you with the edge you need to excel.
At our gaming service center, we’re dedicated to one primary goal: ensuring that your gaming experience is nothing short of extraordinary. We understand that in-game services, such as character power-leveling, location exploration, and resource gathering, are essential to your success and enjoyment in the virtual world. That’s why we go above and beyond to deliver the highest quality services available.
are done by hands
are located on every region
if something goes wrong
Designing a Cohesive Loadout: Weapons, Mods, and Resources Working Together
Every decision in your Marathon loadout sets the stage for how you approach extraction—speed, resilience, and resource management are always in play. You want your weapons, mods, and supplies working in concert, not dragging each other down. The most efficient builds strike a balance between your chosen role and the real risks of losing gear on a bad run.
Common pitfalls often come from mixing equipment styles that work against each other. A heavy, slow-firing weapon paired with mobility mods wastes the speed boost. Bringing high-damage firepower but skimping on ammo leaves you exposed in extended firefights. For runners aiming to stay light and nimble, gear choices should favor quick-draw, low-weight arms and mods that boost speed or evade detection. Protection-heavy builds are better served with tougher armor and resource packs, trading movement for sustainability in drawn-out fights.
- Pairing lightweight weapons with stealth or speed mods makes for quick extractions and low-profile play—but brings less staying power in brawls.
- Combining slow-reload, high-damage guns with movement mods usually wastes the mobility advantage and can leave you caught out when reloading.
- Heavy armor and sustained-fire setups work best together, letting you absorb hits and outlast enemies—but you’ll be slower on retreats or objective rushes.
- Aggressive mod stacking (like full reload speed with rapid-fire weapons) can chew through ammo stockpiles fast, so build in extra reserves if you expect a long engagement.
- Resource pouches and material slots should match your expected playstyle: short, sharp raids need less; drawn-out skirmishes demand backups.
Many players overlook small mismatches that cost them dearly. External coaches or veteran advisors can often spot quick tweaks—like swapping a single mod or carrying an extra mag—that sharply cut your chances of catastrophic gear loss. Thoughtful composition isn’t just about what you bring, but how well everything in your kit amplifies your extraction plan.
Real Extraction Scenarios and the Builds That Fit Them
What to Prioritize First: Blueprint, Workshop, and Faction Progression Ladder
- Secure Foundational Blueprints — Start by locking in the essential blueprints that guarantee access to reliable baseline gear. Without these blueprints in place, every run is a gamble. Permanent gear loss hits much harder if you’re left scrambling for replacements.
- Strengthen Core Workshop Capabilities — Upgrade your Workshop to consistently craft and replenish your most-used weapons, armor, and consumables. A well-developed Workshop means you’re not paralyzed by setbacks; you’ll always have the means to rebuild a basic but effective loadout after losses.
- Focus Faction Alignment — Channel your efforts into one or two factions that offer stable, versatile equipment pools. This isn’t about chasing every possible benefit—it’s about predictable, recoverable progression. Concentrated faction loyalty ensures you’re not spread thin and can always tap into a familiar gear ecosystem.
- Layer in Specialized Loadouts — Once the basics are covered, diversify with focused builds for advanced scenarios. Specialized loadouts become assets rather than liabilities when you’ve got your fallback gear secured. It’s about adding options, not introducing new vulnerabilities.
- Optimize and Iterate — Cycle back through your priorities as new blueprints, Workshop upgrades, and faction rewards become available. The chaos of Marathon’s gear loss system turns manageable when each upgrade fits into a clear progression path—mistakes become temporary setbacks, never total wipeouts.
What Players Get From Structured Build & Loadout Support
Confident choices matter in Marathon. When you’re staring down a hot drop or sizing up what to stash, second-guessing can be costly—lost resources, missed extractions, and that lingering “wish I’d packed differently” feeling. That’s where structured build and loadout support steps in: not to dictate, but to help you see all your angles, cut through the noise, and walk into every raid with a plan that’s yours—just sharper and more informed.
- Smoother runs from the moment you drop, with gear combinations tailored for your playstyle and current objectives.
- Far fewer “should I have brought this?” moments—decisions feel right before, during, and after the action.
- Every loadout comes with context: heat management, extraction routes, and progression goals all considered, no guesswork.
- Your inventory feels less like a puzzle and more like a toolkit; packing for the mission, not just out of habit.
- Less stress before and after matches, since you understand what fits the situation and why.
- You stay in the driver’s seat—services provide structure and Marathon-specific insight, but every gear call remains yours.
- Resource use becomes intentional, not wasteful; nothing gets left behind just because you panicked or overpacked.
- The confidence you need to push deeper, knowing your prep matches your ambition.
Adapting Your Build for Different Threat Levels and Objectives
Building for Marathon isn’t about searching for one perfect setup—it’s about staying nimble and knowing how to pivot as conditions change. Some missions demand speed, others require pure firepower, and every run puts your loadout choices under pressure. Gear that’s ideal for one threat level can be a liability in a tougher scenario, or an unnecessary risk when the stakes are low. The most successful runners keep their options open and know when to swap strategies.
A smart build plan starts by weighing the risk of heat accumulation and the potential for permanent loss. If you just lost a prized piece of gear, it’s normal to feel frustrated—but resilience means having backup loadouts ready and knowing that every setback is temporary. Adapting your play and inventory before you re-enter keeps your progress steady and your nerves intact.
The levers below make it easy to tune your build for the mission ahead:
- Defense vs. Speed — Heavier armor keeps you alive when threats spike, but lighter gear means quicker escapes from hot zones.
- Ammo vs. Utility Items — Extra magazines support drawn-out firefights; utility slots let you solve problems or escape traps before they spiral.
- High-Stakes vs. Low-Stakes Gear — Bring your best kit for objectives worth the risk; opt for replaceable loadouts when you need to recover or recoup losses.
- Heat Management — Cycle your high-value gear out when it’s getting too hot, and run lower-profile builds during cooldowns.
- Emotional Reset — After a loss, swap to a fallback setup that you don’t mind risking. Use your next run to regain momentum, not to chase lost gear.
Every adjustment you make puts you in control of the mission, not at the mercy of it. Ritualize these switches, and adaptation becomes second nature—keeping your Marathon journey on track, no matter what the game throws at you.
Next Steps for Your Marathon Build Strategy
Ready to refine your Marathon build approach? Whether you’re weighing archetypes, testing your decision matrix, or fine-tuning priorities, you now have a proven framework for smart, adaptable loadout planning. Use these tools to experiment, adjust, and improve your gear choices with confidence as the meta shifts.
If you’re eager to apply this guidance solo, every resource on this page is yours to revisit anytime. But if you ever hit a wall—uncertain about the next upgrade, worried about risking rare equipment, or just wanting a second opinion—our experts are one message away.
Reach out for practical tips, detailed build advice, or a custom support plan that fits your goals and inventory. You control the pace and depth. We’re here if you need us.