











Siege of Orgrimmar is the last raid of World of Warcraft: Mists of Pandaria Classic, and it shows. Fourteen bosses, four wings, and a storyline that finally puts Garrosh Hellscream in his place. If you cleared Throne of Thunder before this, you already know Blizzard likes to raise the bar with each tier. SoO raises it again, both in scale and in how punishing some of the Heroic mechanics get.
This guide walks through every boss in order, wing by wing, and covers what changes when you move from Normal to Heroic. No filler about lore cutscenes or achievement grinding here — just the mechanics that decide whether your raid wipes or walks away with loot. Use it to prep your raid group, assign roles before the pull, and know what’s coming before it hits you.
Normal difficulty in SoO is forgiving enough for a raid that communicates and pays attention. Heroic is a different story. Several fights add entire new phases, tighter timers, or mechanics that require pre-assigned players. We’ll flag those differences boss by boss so you’re not caught off guard mid-pull.
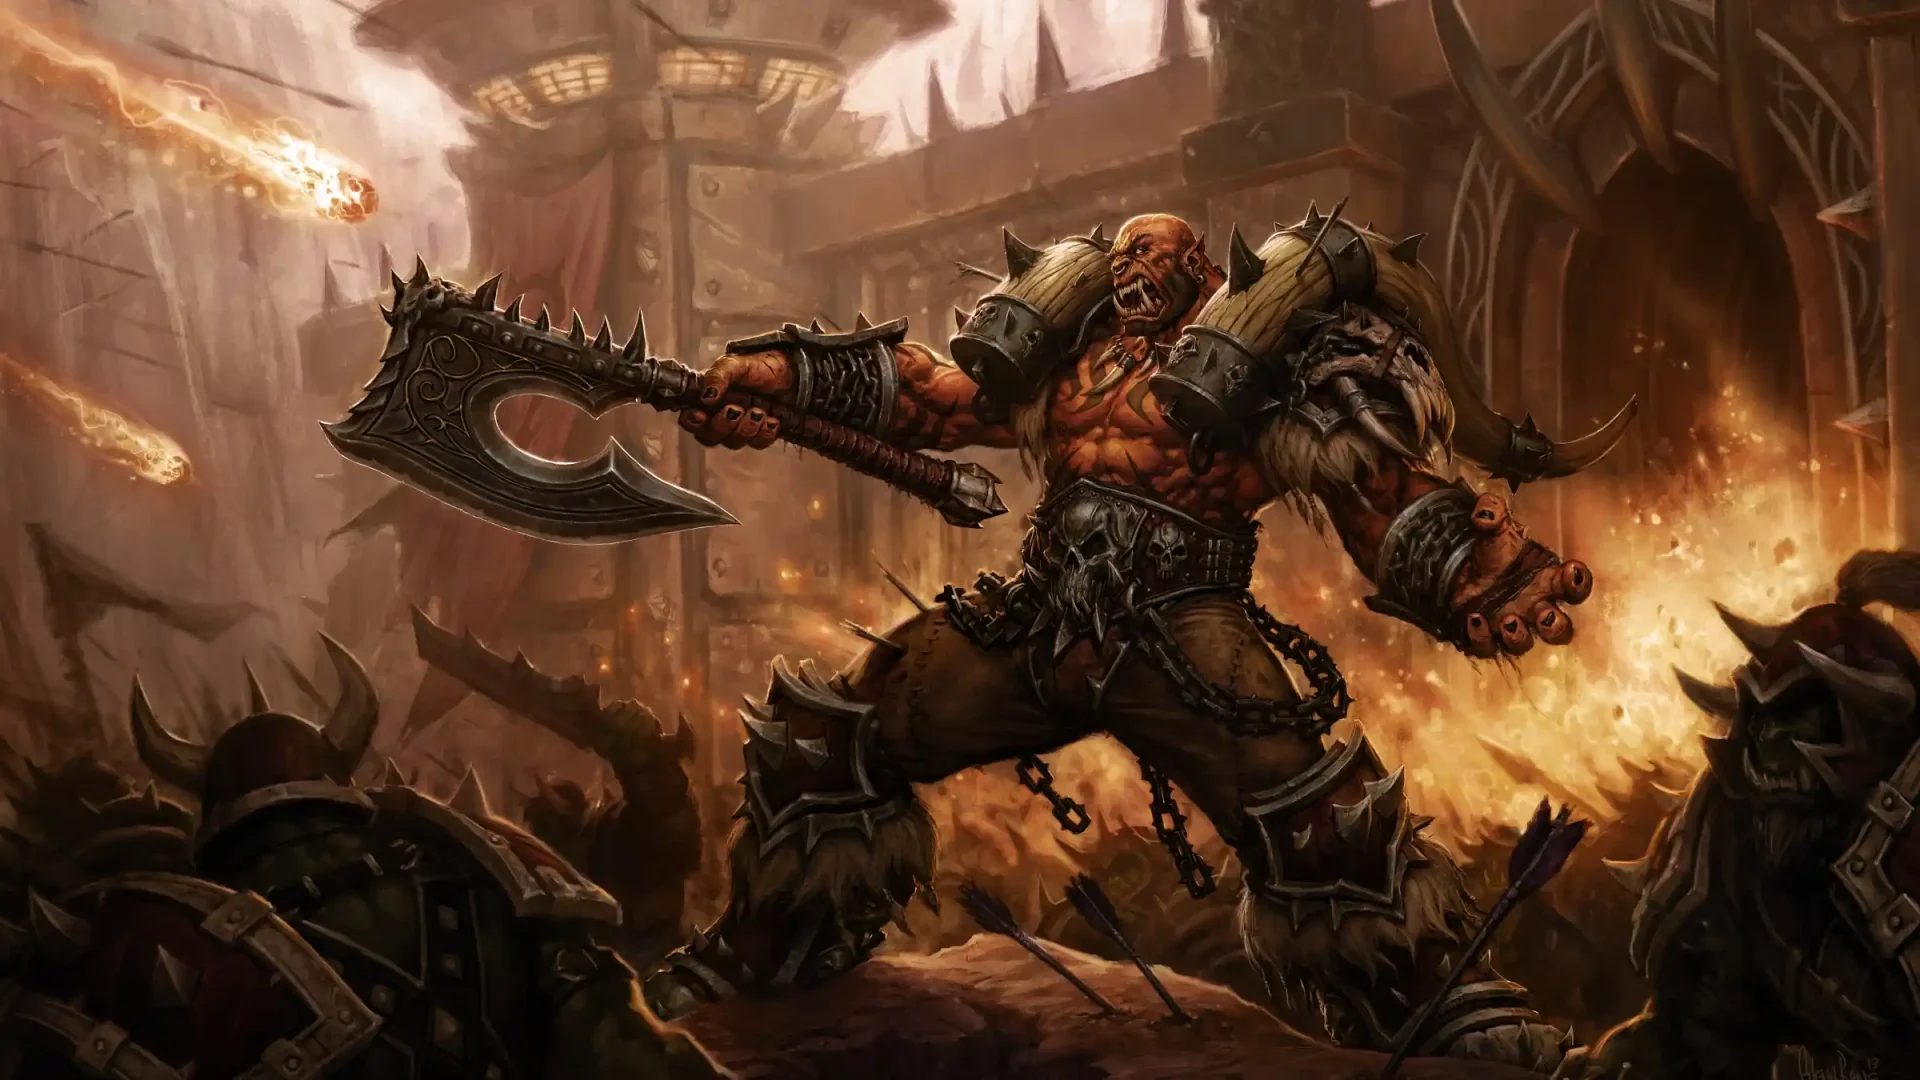
Siege of Orgrimmar Bosses at a Glance
| # | Boss | Wing | Normal Difficulty Focus | Heroic Difficulty Addition |
|---|---|---|---|---|
| 1 | Immerseus | Vale of Eternal Sorrows | Corruption phase loop, spread positioning | Extra Blood of Y'Shaarj adds |
| 2 | The Fallen Protectors | Vale of Eternal Sorrows | Rotating shield immunity, add control | Faster shield rotation, harder enrage |
| 3 | Norushen | Vale of Eternal Sorrows | Role-based purification trials | Stricter timers inside trials |
| 4 | Sha of Pride | Vale of Eternal Sorrows | Managing raid-wide Pride resource | Extra Envy add phase |
| 5 | Galakras | Gates of Retribution | Ground defense, tower assault | Additional tower, tighter timing |
| 6 | Iron Juggernaut | Gates of Retribution | Assault Mode / Siege Mode swap | Faster mode cycling |
| 7 | Kor'kron Dark Shaman | Gates of Retribution | Two bosses on mounts, add control | Combined mount phase |
| 8 | General Nazgrim | Gates of Retribution | Stance cycling, rage-based abilities | Shorter stance windows |
| 9 | Malkorok | The Underhold | Corrupted Blood pool control | Extra prisoner adds |
| 10 | Spoils of Pandaria | The Underhold | Optional loot vault, trap avoidance | Same core mechanic, higher damage |
| 11 | Thok the Bloodthirsty | The Underhold | Kiting, stacking Bloodlust debuff | Frost trap precision required |
| 12 | Siegecrafter Blackfuse | Downfall | Conveyor belt adds, station control | More stations active at once |
| 13 | Paragons of the Klaxxi | Downfall | Nine unique mini-bosses, kill priority | Two active paragons instead of one on death |
| 14 | Garrosh Hellscream | Downfall | Three-phase fight, Kor'kron adds | Extra phase in Stormwind Harbor setting |
Buy services for
World of Warcraft!
Get help with the parts of the game that take the most time. Browse available services or place a custom order.
Order
Vale of Eternal Sorrows: Wing 1 Boss Strategies
The raid opens in a corrupted stretch of the Vale of Eternal Blossoms. This wing teaches the raid group the tools they’ll need for the rest of the instance: spread positioning, add priority, and personal accountability on mechanics that punish standing still.
Immerseus Strategy: Corruption Phase Guide
Immerseus doesn’t die in one clean pull. He loses health, splits into a wave of Sha Puddle adds, and the fight resets into another round. You win by draining his total Corruption meter across these loops, not by burning him down once.
Keep the raid spread to limit damage from Sha Bolt and swirling pools on the ground. Tanks swap on Corrosive Blast stacks, and one of them needs to pick up the Congealed Sha add that spawns partway through. DPS should prioritize the Sha Puddles the moment they appear — they can be pulled, rooted, or knocked into position, so use whatever crowd control your comp has.
On Heroic, extra Blood of Y’Shaarj adds spawn during the puddle phase. They hit hard if ignored, so assign a small DPS group to handle them the second they land instead of splitting attention with the puddles.
The Fallen Protectors Strategy: Shield Rotation Guide
Three bosses fight together here, and one of them is always shielded and immune to damage. The shield rotates between the three on a timer, so your raid needs to track which one is currently open and burn that one down.
- Sun Tenderheart heals the group and needs to be interrupted
- Rook Stonetoe channels a stun that locks down anyone in range
- High Councillor Ku’ma applies stacking damage debuffs to melee
Kill priority matters less than shield tracking. Miss the rotation and you waste DPS hitting an immune target while the other two stack damage on your raid. Heroic shortens the shield rotation window, so callouts need to happen a few seconds earlier than you’re used to.
Norushen Strategy: Purification Trial Guide
Norushen tests your raid’s corruption resistance through three trials, one per role. Players volunteer to enter, get corrupted, then either purify themselves through the trial or die trying.
| Trial | Role | Objective |
|---|---|---|
| Test of Reliance | Healers | Heal allies, dispel Lingering Corruption fast |
| Test of Confidence | Tanks | Survive Titanic Corruption, interrupt Hurl Corruption |
| Test of Serenity | DPS | Kill Elements of Corruption, avoid deflect damage |
Plan who enters each trial before the pull. Overlapping roles inside a single trial wastes time and risks a wipe. On Heroic, the trial timers get noticeably tighter, so slow groups will need a second attempt to clear a trial cleanly.
Sha of Pride Strategy: Managing the Pride Resource
Sha of Pride accumulates a raid-wide resource called Pride throughout the fight. Left unmanaged, it builds until players get engulfed and become a serious threat to the raid. The fix is counterintuitive: some players need to willingly become corrupted, entering a reflection phase to burn off the accumulated Pride before it spirals.
Assign volunteers ahead of time so nobody hesitates when the mechanic triggers. Keep the raid spread to avoid chain-reaction damage from Bloated Corruption. Heroic adds an Envy phase where a second corrupted state spreads between players, so you’ll need a second rotation of volunteers ready to go.
Gates of Retribution: Wing 2 Boss Strategies
Wing 2 moves the fight toward the outer defenses of Orgrimmar. Expect heavier DPS checks, more moving parts, and two fights built around dual bosses instead of one.
Galakras Strategy: Ground and Tower Phase Guide
This fight alternates between defending the ground floor from waves of Kor’kron soldiers and sending players up towers to man cannons against Galakras herself. Ground phase is mostly add control — kill priority targets fast and keep the raid topped up against incoming damage. Tower phase asks specific players to leave the ground fight, climb, and fire cannons at the dragon while she strafes the battlefield.
Communication matters more than damage here. Whoever goes up the tower needs to know their job before the phase starts, since there’s no time to explain mid-fight. Heroic adds a third tower to the rotation, which means one extra group needs tower duty on top of everyone already assigned.
Iron Juggernaut Strategy: Assault and Siege Mode Guide
The Iron Juggernaut alternates between two states. In Assault Mode it moves and melees, so tanks handle it like a standard tank-and-spank with regular swaps. In Siege Mode it plants itself and switches to ranged attacks, including mines that need to be disarmed and laser sweeps that force repositioning.
Tank swap on Flame Vents stacks during Assault Mode. During Siege Mode, stay spread, dodge the laser, and get mines cleared by players with the right immunity before they reach the raid. Heroic cycles between the two modes faster, which shrinks your window to reposition between mechanics.
Kor’kron Dark Shaman Strategy: Dual Boss Guide
Haromm and Kardris fight side by side, each mounted, each with their own ability set. Kardris throws out ranged elemental damage while Haromm focuses more on melee and totems. Split your raid’s damage between the two rather than focusing one down completely, since letting one boss sit at low health too long usually triggers a harder enrage on the other.
Keep tanks on separate targets and rotate cooldowns for the totem-based damage spikes. Heroic combines their mount phases, so both bosses gain mobility at the same time instead of one after the other, which puts more pressure on positioning.
General Nazgrim Strategy: Stance and Rage Guide
Nazgrim is a straightforward warrior fight with three stances: Battle, Berserker, and Defensive, each lasting about a minute before rotating. His abilities pull from a rage pool, and he always uses the most expensive ability available, so his damage output escalates the longer a stance runs.
- Bloodlust on the first Berserker Stance for maximum value
- Stop DPS during Defensive Stance to avoid feeding his rage
- Tank swap around 2-4 stacks of Sunder Armor
- Watch for Execute and use survival cooldowns when it’s coming
Heroic shortens the stance windows, which means his rage builds faster and his highest-cost abilities come out more often. Healers need to be ready for bigger spike damage earlier in the fight compared to Normal.
The Underhold: Wing 3 Boss Strategies
Wing 3 takes the raid underground, beneath Orgrimmar itself. This is where kiting mechanics and blood management take center stage, along with one optional boss that’s purely about loot.
Malkorok Strategy: Corrupted Blood Control Guide
Malkorok gets stronger every time he touches a pool of Corrupted Blood scattered around the room. The core job here is kiting him away from those pools while your raid burns him down before he stacks too many buffs from touching them.
Tanks need strong movement awareness, since a single mistimed pool contact can swing the fight’s difficulty hard. DPS should stay mobile too, since blood pools spread across the room as the fight goes on. Heroic adds extra prisoner adds that break free partway through, and those need to be controlled quickly or they start chipping away at the raid’s healing bandwidth.
Spoils of Pandaria Strategy: Optional Vault Guide
Spoils of Pandaria isn’t a traditional boss fight. It’s an optional vault encounter focused entirely on avoiding traps while collecting loot from Sha crystals scattered around the room. Skip it if your raid wants to move straight to Blackfuse, but know that Thok the Bloodthirsty requires this room to be cleared first, so you can’t skip it forever if you want to progress through the wing in order.
Move carefully, watch for trap triggers on the floor, and don’t get greedy grabbing loot at the cost of raid safety. Heroic doesn’t change the core mechanic much, but trap damage scales up, so mistakes cost more.
Thok the Bloodthirsty Strategy: Kiting Guide
Thok is a pure kiting fight. He builds a stacking Bloodlust debuff on his current target that increases his damage and speed, so tanks rotate who’s kiting him around the room using a frost trap to slow him down at key moments.
Time the frost trap carefully — too early and it’s wasted, too late and your tank eats a hit they can’t survive. Adds spawn from eggs around the room and need to be killed quickly to avoid overwhelming your healers. Heroic demands much tighter frost trap timing, since a missed trap at the wrong moment usually means a dead tank.
Downfall: Wing 4 Boss Strategies
The final wing brings the raid into Orgrimmar proper, ending in the chamber beneath the city where Garrosh waits. These are the most mechanically dense fights in the raid, and they deserve full attention on strategy before you pull.
Siegecrafter Blackfuse Strategy: Conveyor Belt Guide
Blackfuse fights from a factory floor lined with conveyor belts that deliver a steady stream of hostile machinery: sawblades, laser turrets, homing missiles, and mines. There’s no fixed kill order for the stations spawning these threats — most raids handle them based on what their comp can manage best.
- Tank Automated Shredders away from the raid, tank swap on Electrostatic Charge stacks
- Kill Overcharge Missiles before they detonate
- Kite the laser beam if you’re targeted by it
- Clear mines before they reach the raid group
Heroic keeps more stations active simultaneously, so the flow of adds never really slows down. Assign dedicated players to specific threats rather than reacting to whatever’s closest, or the fight turns into chaos fast.
Paragons of the Klaxxi Strategy: Nine Boss Kill Priority Guide
This fight throws nine unique mini-bosses at your raid, three active at a time. Killing one brings the next into the fight, and every remaining boss gets fully healed each time that happens. Kill priority isn’t set in stone, but a few targets are worth prioritizing:
- Kaz’tik the Manipulator summons Klaxxi Amber-Weavers — kill these fast
- Kil’ruk the Wind-Reaver teleports around and scorches the ground — dangerous if ignored too long
- Xaril the Poisoned Mind throws unpredictable potions that punish clumped positioning
Since every kill heals the survivors, plan your burn windows around cooldown availability rather than rushing the first target you see. Heroic brings two new paragons into the fight instead of one each time a boss dies, which keeps the pressure constant instead of giving your raid breathing room between kills.
Garrosh Hellscream Strategy: Normal vs Heroic Final Boss Guide
Garrosh is the final fight in Siege of Orgrimmar, and it’s built as a three-phase encounter with two intermissions inside the Realm of Y’Shaarj. This is the most mechanically packed fight in the raid, so treat every pull with a full raid briefing beforehand.
Garrosh commands Kor’kron forces buffed by Hellscream’s Warsong, so any adds that spawn hit much harder than they look. Siege Engineers try to activate Iron Stars — large rolling hazards that deal serious raid-wide damage once active. Kill Siege Engineers the moment they appear, before touching anything else, since an active Iron Star can also be steered into Kor’kron adds to clear them out.
During Phase 3, Touch of Y’Shaarj triggers mind control on random players during Empowered Whirling Corruption. Mind-controlled players attack the raid with their full kit, so pre-assign crowd control for this moment rather than improvising mid-fight. One missed control can cascade into several raid deaths quickly.
Normal vs Heroic differences on Garrosh:
| Mechanic | Normal | Heroic |
|---|---|---|
| Phase count | Three phases | Three phases plus an added segment in Stormwind Harbor |
| Iron Star usage | Defensive only | Required to interrupt Manifest Rage at 100 energy |
| Add damage | Standard Kor'kron output | Increased via Malice and Bombardment mechanics |
| Positioning | Standard spread | Coordinated soak assignments required |
Heroic Garrosh introduces Malice, which needs enough players soaking it to avoid raid damage, and Bombardment, which forces the raid to spread out further than usual. An Iron Star also needs to be actively steered into the boss to interrupt Manifest Rage once it hits full energy. This phase rewards raids that plan soak assignments and Iron Star control ahead of time rather than reacting on the fly.
Normal vs Heroic: What Changes Across Siege of Orgrimmar
A few patterns repeat across most bosses when moving from Normal to Heroic:
- Extra adds or phases. Several fights add a full mechanic layer that doesn’t exist on Normal, like Envy on Sha of Pride or the Stormwind Harbor segment on Garrosh.
- Tighter timers. Trials, stance windows, and mode cycles all run faster on Heroic, leaving less room for slow reactions.
- Higher punishment for mistakes. Trap damage, add damage, and burst mechanics all scale up, so the same mistake that’s survivable on Normal can wipe a Heroic raid.
- More coordination required. Heroic fights lean harder on pre-assigned roles instead of reactive play, especially on Garrosh and Norushen.
None of these changes require a completely different strategy from Normal. They mostly demand better timing, clearer callouts, and less room for improvisation.
Buy services for
World of Warcraft!
Get help with the parts of the game that take the most time. Browse available services or place a custom order.
Order
Tips for Clearing Siege of Orgrimmar Efficiently
- Save Bloodlust for the moment it has the most impact — usually after a fight’s hardest mechanic phase has passed, not on pull.
- Assign crowd control specs before you pull on any fight with mind control or corruption mechanics, especially Garrosh and Sha of Pride.
- On fights with rotating kill priority, like Blackfuse and Paragons, split your raid into fixed groups with clear responsibilities instead of leaving it open-ended.
- Skip Spoils of Pandaria only if your raid doesn’t plan to fight Thok the Bloodthirsty that week, since clearing it is required first.
- Review Heroic-specific mechanics with your raid before the pull rather than during it. The extra phases and tighter timers punish groups that are learning on the fly.
Clearing all 14 bosses on Heroic takes real coordination, but none of the mechanics here are unfair once your raid knows what’s coming. Walk in with assignments set, communicate early on mechanics with short windows, and Siege of Orgrimmar becomes a raid your group can clear consistently.
