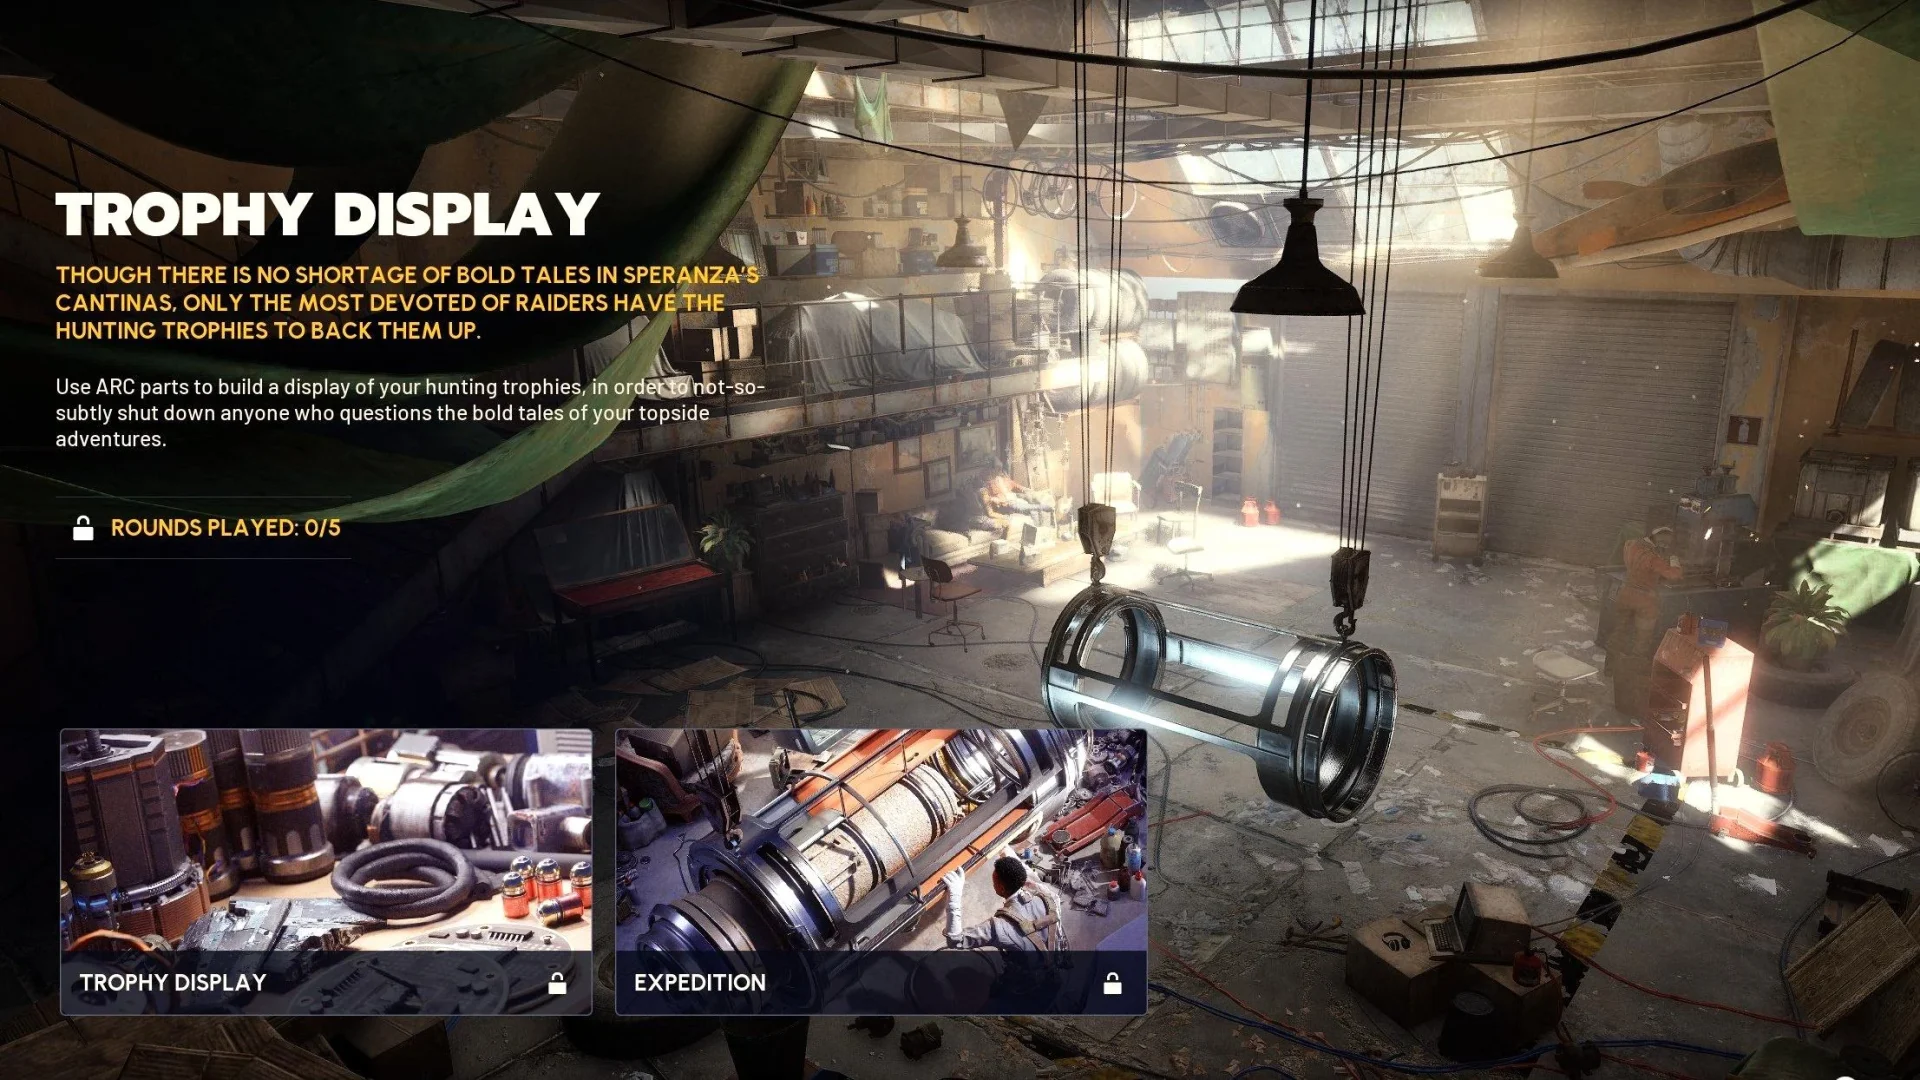
Trophy Display is a long-term Project introduced in patch 1.13.0. The concept is simple: you progress a 5-step Display Case by hunting ARC enemies and turning in specific parts. Each completed step adds a new item to your case and pays out rewards.
What makes Trophy Display stand out (and why it’s getting so much attention) is that it’s designed to be a slow-burn collection track rather than a short-lived rush:
- It currently has no fixed end date.
- Progress is not impacted by Expedition resets.
- Each step pays out blueprints and Raider Tokens, with additional completion rewards at the end.
Trophy Display Stages Overview: 5 Stages, 4 Turn-Ins Each
Trophy Display is split into five stages, and each stage requires four separate turn-ins. That means you’re effectively completing 20 “slots” total across the whole project.
A practical reality of Trophy Display is that players often want a full checklist up front (instead of discovering requirements one stage at a time). The tables below are meant to solve that problem: you can look ahead, decide what to keep, and avoid donating something that becomes a requirement later.
How to use this guide efficiently
- If you’re early: scan Stage 4–5 first so you understand what will eventually be demanded (especially items tied to map conditions).
- If you’re mid-project: focus on the “Where to Find” column to pick the right zone/enemy for your next run.
- If you’re min-maxing: note which requirements are zone-based (e.g., Industrial/Medical/Stella Montis) versus enemy-based versus map-condition gated (Queen/Matriarch reactors).
Trophy Display Final Completion Rewards (All 5 Stages)
Finishing every stage grants a final bundle that includes:
- Howl (emote)
- Jupiter (Legendary Sniper Rifle)
- Acoustic Guitar
- Energy Clip (Ammo)
- 300,000 Coins
On top of that, you’ll also accumulate Raider Tokens from each stage. Based on the stage reward tables (10 + 20 + 30 + 40 + 50), that’s 150 Raider Tokens total across the full Trophy Display progression.
If you’re deciding whether the grind is worth it: Trophy Display isn’t just “one reward at the end.” You’re getting meaningful payouts every stage, plus the big completion bundle as a capstone.
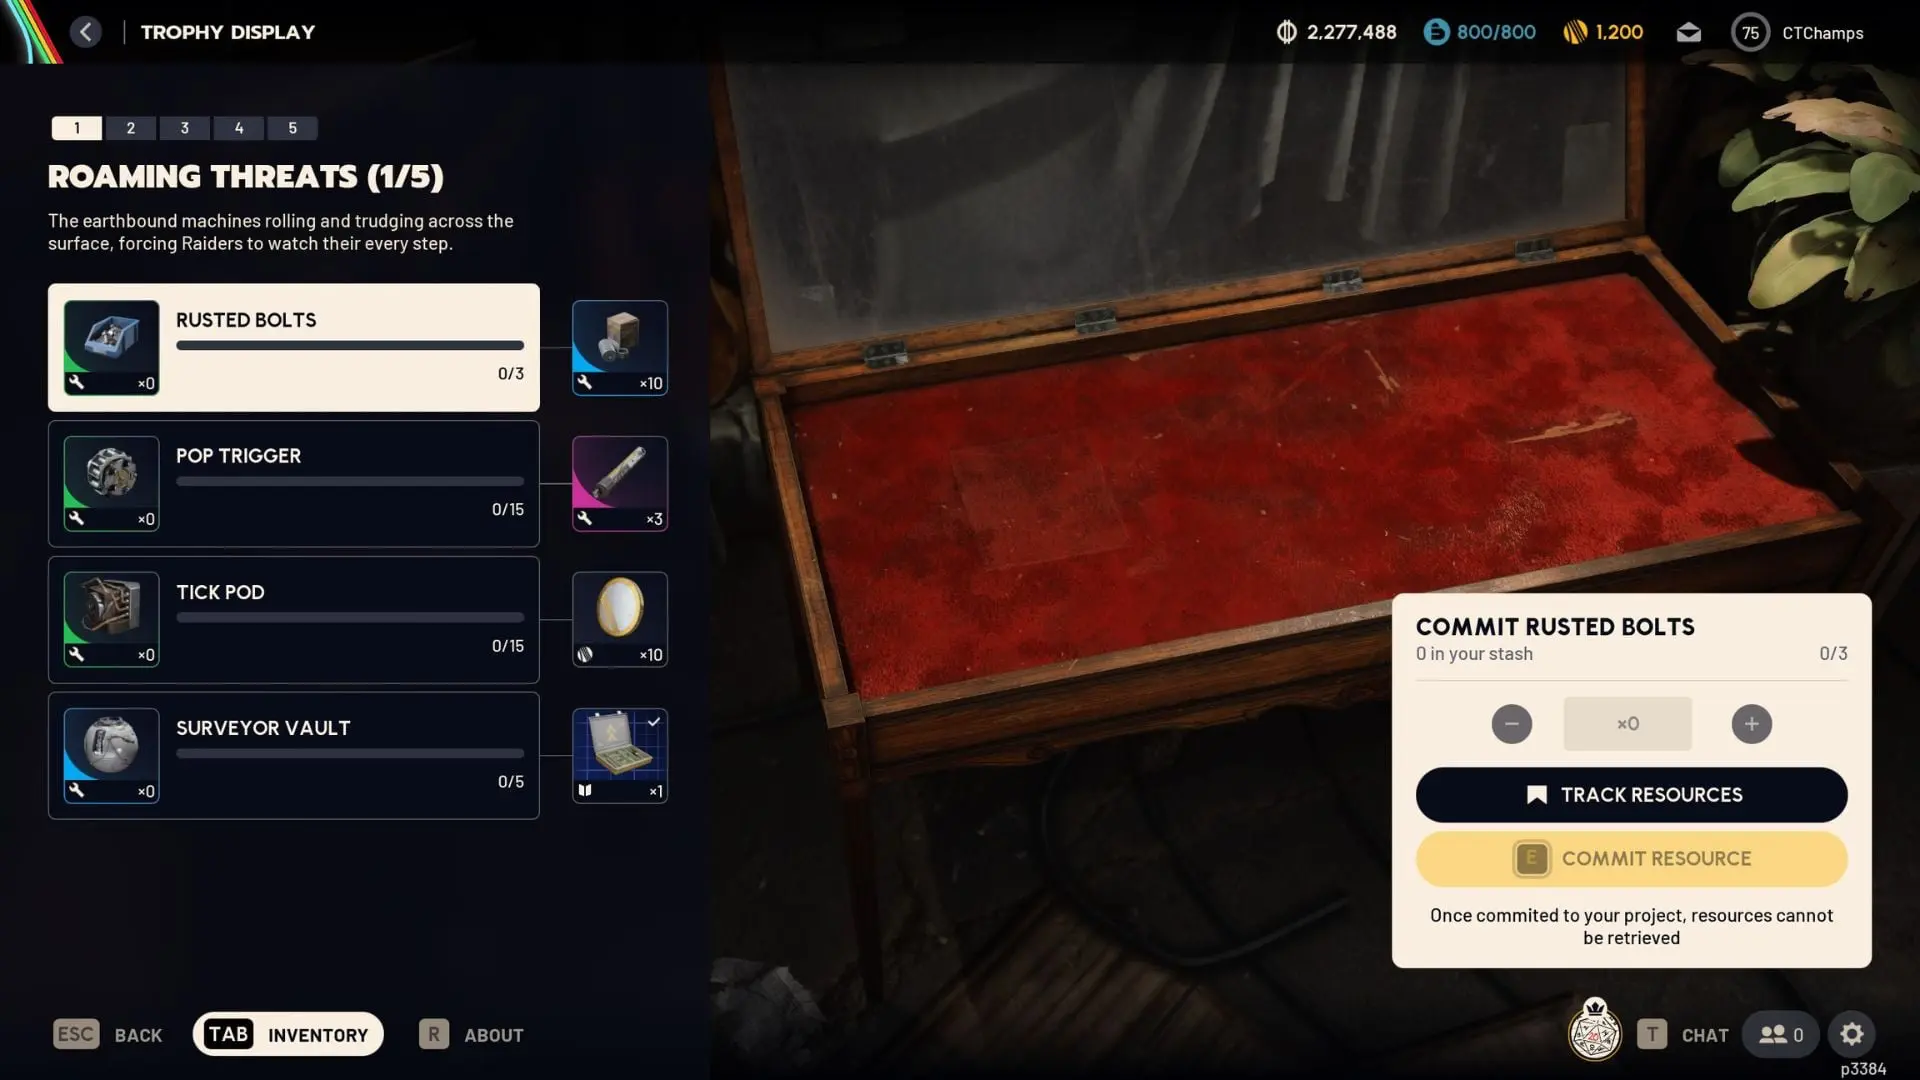
Stage 1 Trophy Display: Roaming Threats (Requirements, Where to Find, Rewards)
| Stage 1 Requirement | Where to Find / How to Obtain | Stage 1 Reward |
|---|---|---|
| Rusted Bolts ×3 | Found in Industrial or Mechanical zones | Mod Components ×10 |
| Pop Trigger ×15 | Dropped by killing the exploding Arc “Pop” robots | Power Rods ×3 |
| Tick Pod ×15 | Dropped by killing the spider-like Arc “Tick” robots | Raider Tokens ×10 |
| Surveyor Vault ×5 | Dropped by killing the rolling Arc “Surveyor” robots or found on Arc Couriers | Light Gun Parts Blueprint ×1 |
This stage is built around common “starter loop” ARC targets plus a zone pickup. If you’re trying to be efficient, treat it like a checklist: once you have the full count on one line (e.g., Tick Pods), shift focus to the next item rather than continuing to farm duplicates you can’t use yet.
Stage 2 Trophy Display: Soaring Menaces (Requirements, Where to Find, Rewards)
| Stage 2 Reward | Where to Find / How to Obtain | Stage 2 Reward |
|---|---|---|
| Spotter Relay ×10 | Dropped by killing the scanning Arc “Spotter” robots that hang around Bombardiers | Vita Spray ×3 |
| Expired Respirator ×3 | Found in Medical Zones | Photoelectric Cloak ×3 |
| Wasp Driver ×20 | Dropped by killing the flying Arc “Wasp” robots | Raider Tokens ×20 |
| Hornet Driver ×15 | Dropped by killing the flying Arc “Hornet” robots | Vita Shot Blueprint ×1 |
Stage 2 introduces a clear pattern you’ll see again later: some requirements are enemy drops (Spotter/Wasp/Hornet), while another is zone-driven (Expired Respirator in Medical Zones). If your inventory space is tight, prioritizing the zone item early can be smart, because it’s easier to “forget to do a zone run” than it is to accidentally kill a Wasp.
Stage 3 Trophy Display: Ferocious Foes (Requirements, Where to Find, Rewards)
| Stage 3 Requirement | Where to Find / How to Obtain | Stage 3 Reward |
|---|---|---|
| Arc Performance Steel ×10 | Dropped by random Arc enemies (usually higher difficulty ones) | Kinetic Converter weapon mod ×1 |
| Shredder Gyro ×5 | Dropped by killing the hovering Arc “Shredder” robots found in Stella Montis | Anvil Splitter weapon mod ×3 |
| Leaper Pulse Unit ×10 | Dropped by killing the large, four-legged Arc “Leaper” robots | Raider Tokens ×30 |
| Bastion Cell ×5 | Dropped by killing the large, beetle-shaped Arc “Bastion” robots | Shotgun Silencer Blueprint ×1 |
Stage 3 is where Trophy Display leans harder into “named ARC parts.” The “Where to Find” column is your route planner here: it tells you which enemy type you should be targeting, rather than wandering and hoping the right material drops.
Buy services for
ARC Raiders!
Get help with the parts of the game that take the most time. Browse available services or place a custom order.
Order
Stage 4 Trophy Display: Dominant Dangers (Requirements, Where to Find, Rewards)
| Stage 4 Requirement | Where to Find / How to Obtain | Stage 4 Reward |
|---|---|---|
| Arc Synthetic Resin ×10 | Dropped by random Arc enemies (usually higher difficulty ones) | Bobcat SMG ×1 |
| Magnetic Accelerator ×10 | Crafted in a level 3 Refiner, or from Recycling certain high level weapons | Wolfpack Grenade ×5 |
| Rocketeer Driver ×8 | Dropped by killing the large, hovering Arc “Rocketeer” robots | Raider Tokens ×40 |
| Queen Reactor ×3 | Dropped by killing the massive Arc “Queen” robot during the Harvester map modifier event | Bobcat Blueprint ×1 |
Stage 4 is the first time Trophy Display clearly introduces a map-condition gated requirement: Queen Reactor during the Harvester condition. Practically, this means your progress can feel smooth right up until you hit the “condition gate.” If you want Trophy Display to feel consistent, keep an eye on when Harvester is active and prioritize Queens when it is—because those reactors are the obvious bottleneck item in this stage.
Stage 5 Trophy Display: Imposing Behemoths (Requirements, Where to Find, Rewards)
| Stage 5 Requirement | Where to Find / How to Obtain | Stage 5 Reward |
|---|---|---|
| Exodus Modules ×5 | Sold by Celeste, or Recycled from certain Epic items | Snap Hook ×2 |
| Geiger Counter ×3 | Found randomly in Stella Montis | Aphelion Battle Rifle ×1 |
| Bombardier Cell ×8 | Dropped by killing the large, mortar-firing Arc “Bombardier” robots | Raider Tokens ×50 |
| Matriarch Reactor ×3 | Dropped by killing the massive Arc “Matriarch” robot during the Matriarch map modifier event | Snap Hook Blueprint ×1 |
Stage 5 doubles down on “late-game targets” and introduces another condition gate: Matriarch Reactor tied to the Matriarch map modifier. Like Stage 4, it’s a good idea to treat that condition as an opportunity window: if your goal is to finish Trophy Display, those windows are when you make real progress on the reactor line.
Trophy Display “Where to Farm” Recap (By Zone, Enemy, and Map Condition)
If you want a fast mental model, Trophy Display requirements fall into three buckets:
1) Zone-based pickups
- Industrial / Mechanical: Rusted Bolts
- Medical Zones: Expired Respirator
- Stella Montis: Shredder Gyro (via Shredders there), Geiger Counter (randomly), and Exodus Modules (through listed acquisition paths)
2) Enemy drop parts
- Pops → Pop Triggers
- Ticks → Tick Pods
- Surveyors / ARC Couriers → Surveyor Vaults
- Spotters → Spotter Relays
- Wasps / Hornets → Drivers
- Leapers / Bastions / Shredders / Rocketeers / Bombardiers → their named components
3) Map-condition gated reactors
- Queen Reactor → Queen during Harvester map modifier
- Matriarch Reactor → Matriarch during Matriarch map modifier
This recap is useful because it tells you what kind of “run” you should do next: zone run, enemy hunt, or condition chase.