

What the Harvester Event Is and Why It Matters
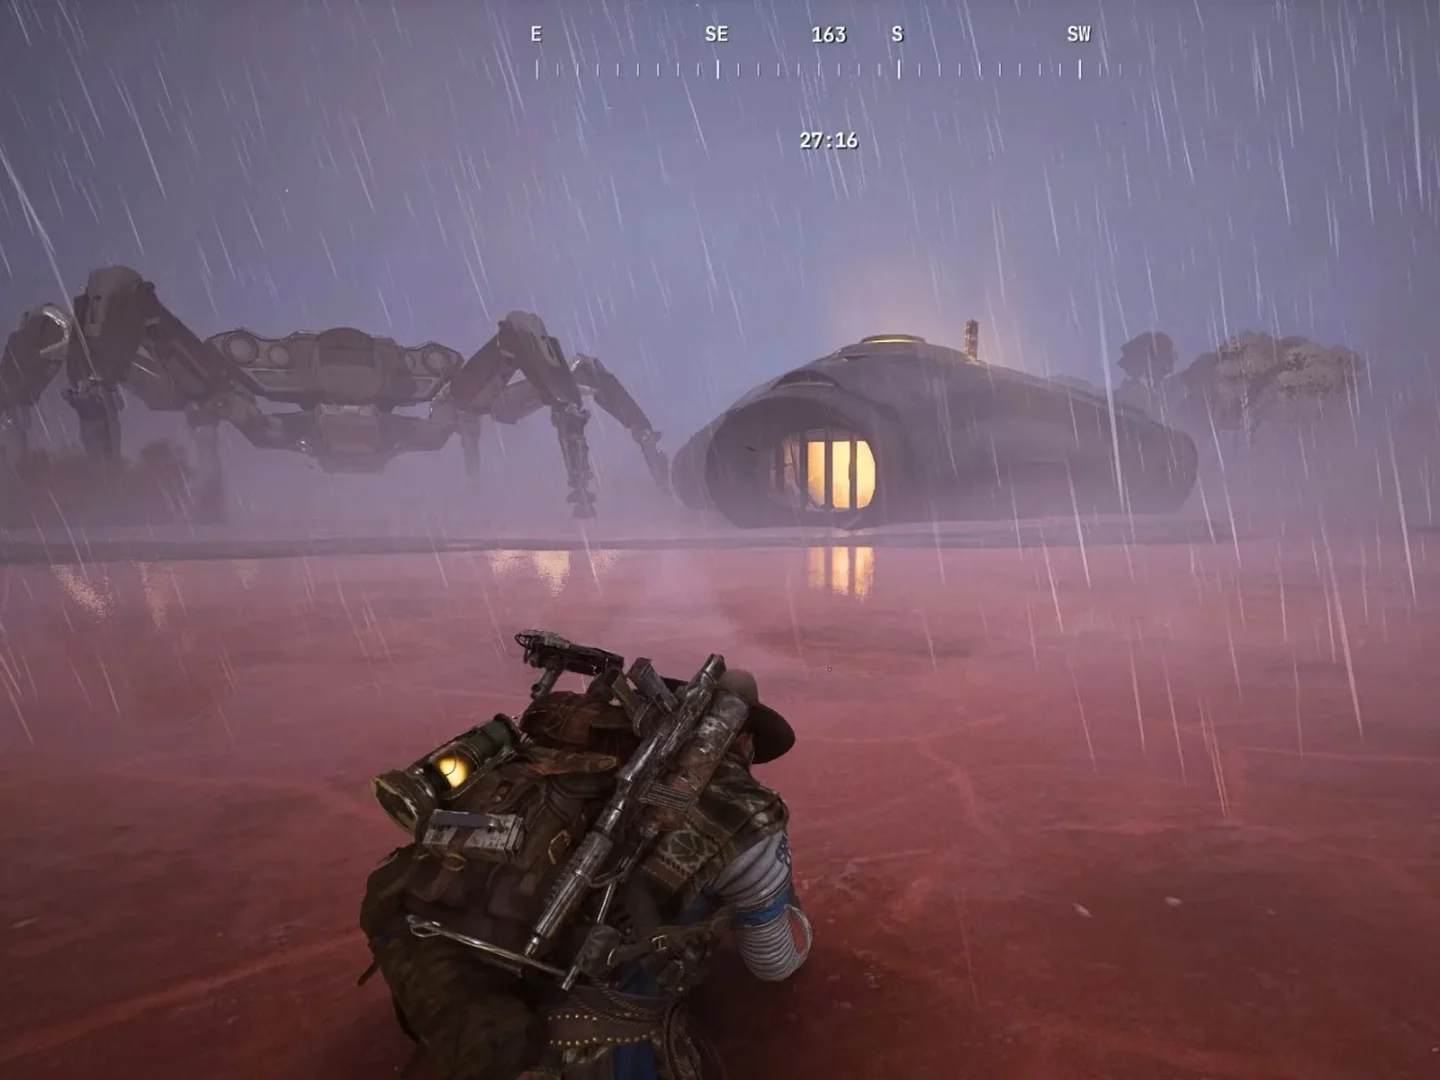
The Harvester event in ARC Raiders is a rotating high-risk activity with major payoff. You’ll find a large mechanical structure called the Harvester, guarded by heavy ARC units and the Queen.
Inside this structure lies a timed puzzle rather than a standard boss fight. By completing the puzzle, you gain access to unique loot and legendary blueprints—without necessarily fighting the Queen herself.
The loot pool includes rare crafting materials and powerful weapons such as the Jupiter sniper rifle and the Equalizer LMG, which are directly tied to this event. If you’re pushing for end-game gear, mastering the Harvester Puzzle is a must.
In short, you’re dealing with timed environmental hazards, access phases, and possible PvP interference. But when executed cleanly, it’s one of the most efficient high-tier runs in the game.
How to Find and Start a Harvester Run
Locating the Event
On supported maps like Dam Battlegrounds, Spaceport, or Blue Gate, look for the event icon labeled “Harvester.”
The event doesn’t run continuously—check map notifications to confirm when it’s active.
Approach from a side that provides cover and keeps you hidden from the Queen’s patrols.
Pre-Run Checklist
Before committing to a run:
- Equip lighter shields or remove them completely—EMP pulses inside drain shields fast.
- Bring enough ammo, healing items, and extraction tools.
- Learn the entry points: usually three vents or doors. Choose one with easy retreat access.
Solo vs Squad Differences
- Squad: Assign roles—one breaches, one watches outside, one manages the puzzle. This saves time and keeps you safe.
- Solo: More dangerous but entirely doable. Focus on movement, timing, and fast reactions to hazard cycles.
The Room Layout at a Glance
Inside the Harvester structure, the most important feature is the central pillar that stands from floor to ceiling. At its base are three ports where you’ll need to insert the power canisters to activate and complete the puzzle. Surrounding this core area is an upper walkway connected by lifts or narrow stairways, where breachable cabinets are located—two of them will contain the remaining canisters required for the puzzle.
The lower level serves as your main access zone, featuring three entry points that double as escape routes during hazardous cycles. This entire space is tight and unforgiving, built to test your timing and coordination. Every movement must be precise; a few seconds of hesitation can turn a clean run into chaos.
The Harvester Puzzle — Phase-by-Phase
The Harvester Puzzle is one of the most memorable moments in ARC Raiders because it mixes exploration, timing, and quick reactions under pressure. It’s not just about collecting items—it’s about reading the environment and working with (or against) the game’s rhythm. Below is a detailed walkthrough of each phase, explaining not only what to do but why it matters and how to make every move count.
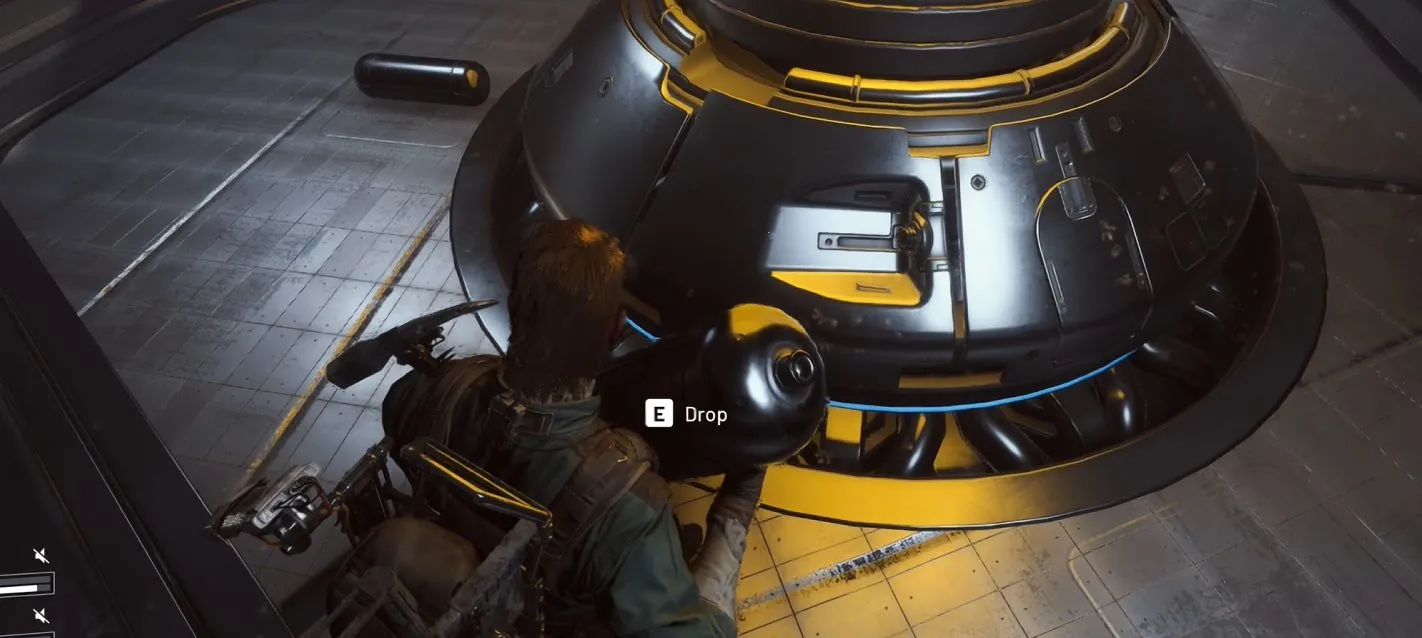
Look around the floor near the entrance—there’s always a first power canister lying nearby. Pick it up immediately. This item is crucial because inserting it into the pillar activates the entire puzzle sequence. Once the canister is slotted, the Harvester “wakes up.” You’ll hear a low hum and see the pillar’s light begin cycling. This marks the start of the timed hazard system that defines the challenge.
From this moment on, you’re racing the environment. Every second you spend inside is a balance between progress and survival. After inserting the first canister, your goal shifts to finding the other two as fast as possible before the hazards start overwhelming you.
On this level, you’ll find multiple breachable cabinets and access panels along the walls. Only a few contain the power canisters you need, but you won’t know which ones until you open them. Breach every cabinet systematically, but avoid wasting time on ordinary loot. You’re not here to scavenge; your objective is precision and speed.
The two remaining canisters are usually tucked into different corners of the walkway. Once found, carry them down to the central pillar and place them nearby without slotting them in yet. This technique—known among players as “staging”—saves valuable time later. When the next hazard cycle passes, you’ll be ready to slot them instantly instead of running back upstairs.
While searching, keep an eye on the pillar’s color pulses. If it starts glowing orange or red, that means a fire wave is incoming. Don’t risk continuing the breach; instead, retreat to the lower level or exit entirely to wait for the fire to subside.
When the pillar glows orange or red, the Harvester is about to trigger a fire wave. The entire chamber will ignite, filling with scorching flames that deal massive damage in seconds. Even with strong healing items, surviving a direct hit is unlikely. The only correct response is to exit through a vent or move to an adjacent corridor. Wait a few moments until the flames die out, then return. Never attempt to slot canisters or clear alarms during this phase—it’s a guaranteed wipe.
When the pillar glows blue, a different hazard occurs: an EMP pulse. This disables shields and electronic devices, but it doesn’t harm your health directly. If you’ve entered the Harvester without a shield (which is highly recommended), you can keep working during blue cycles without issue. These are your “safe windows” to progress.
The rhythm alternates roughly every minute. Experienced players often time their moves to coincide with the blue phases, slotting canisters and clearing alarms only during those safe periods. Once you learn this timing, the puzzle becomes much more manageable.
Each alarm plate emits a loud buzzing sound and flashes bright yellow. If you ignore them, the Harvester interprets it as a breach failure and starts to reset the puzzle—forcing you to redo the canister phase from the beginning. That’s why this stage demands both speed and awareness.
In solo play, start from the floor level and work your way up in a spiral, hitting every plate you can see. Use your melee weapon or short bursts of fire to destroy them quickly. In squads, divide responsibilities: one player covers the floor level while others focus on the upper walkway. Communication is essential here; missing even one plate can cause the event to fail.
You’ll know you’re doing it right when the pillar’s light stabilizes and the sound of the alarms fades. The fire or EMP cycles may still continue during this phase, so stay alert—if the pillar starts glowing orange again, drop what you’re doing and get out. Better to pause than to burn out right before completion.
Move fast—the timer doesn’t stop once the loot spawns. Grab the rewards immediately. They can include valuable crafting materials, high-rarity gear, or even legendary weapon blueprints like the Jupiter or Equalizer. Always secure the best items first, ideally in your safe inventory, to avoid losing them if enemies appear.
This is the most dangerous moment of the run, not because of the puzzle but because of timing. When the Harvester activates its loot phase, it emits a strong signal detectable to nearby players and AI units. Expect company. Smart raiders plan their extraction before finishing the puzzle. Identify your exit vent, heal up, and prepare to sprint.
If you’re playing solo, prioritize survival over greed—don’t waste time sorting loot mid-room. Grab what you can carry and head for the exit before the next fire cycle or enemy wave. In squads, have one player collect items while the others guard the doors.
As you escape and the Harvester shuts down behind you, you’ll feel the payoff of perfect timing and coordination. Every cycle dodged and every alarm cleared brings you closer to mastery. Once you’ve done it a few times, what first felt like chaos turns into rhythm—a dangerous but rewarding dance of precision.
Visual Cheat-Sheet
| Phase | What You Do | What to Watch | Risk | Quick Tip |
|---|---|---|---|---|
| Entry | Breach door, take floor canister | Queen patrols, timer starts | Intercepted at entrance | Pick safest vent |
| Upper Hunt | Breach upper panels for two canisters | Ignore random loot | Time loss | Focus on power cells |
| Hazard Cycle | Track pillar color | Orange/Red vs. Blue | Fire/EMP damage | Exit on orange/red |
| Alarm Clear | Destroy yellow nodes | Retraction = incoming fire | Lockout or reset | Use melee, split tasks |
| Loot & Exit | Collect rewards, extract fast | External threats | Losing loot | Secure high-value first |
Step-by-Step Route (Solo & Squad Variants)
Tackling the Harvester Puzzle feels very different depending on whether you’re solo or in a squad. The mechanics don’t change, but timing, communication, and safety do. Here’s how to approach both efficiently.
Solo Route — Fast and Focused
When you’re solo, speed is survival. Breach a vent, grab the first canister near the floor, and slot it into the central pillar to activate the puzzle. Immediately head upstairs and breach panels in a clockwise path. Only two contain canisters — ignore everything else. Once found, place them near the pillar for quick access later.
The pillar’s color dictates safety: blue means work, orange or red means fire. Leave instantly on orange, then return once it’s safe. When all three canisters are ready, slot them during a blue phase. Clear the yellow alarm plates quickly — melee is faster and saves ammo. Once the loot spawns, grab the best rewards, secure them, and extract fast.
Squad Route — Coordination Wins
In a team, organization beats speed. Before entering, assign simple roles: one outside lookout, one runner, and one breacher. The first player slots the floor canister; others go upstairs to find the rest. Drop found canisters down to the pillar to keep everything centralized.
Stay vocal — call out “Blue” for safe phases and “Orange” for fire. When alarms appear, split the duties by area: one clears the ground floor, the others handle the upper walkway. After the pillar opens, one player loots while the rest cover entrances. With good coordination, a squad can finish the event in under five minutes and extract cleanly.
Reading the Room — Lights, Sounds, and Timers

Understanding the Harvester’s cues is one of the biggest factors separating a clean run from a wipe. The central pillar acts as the puzzle’s heartbeat. Its color isn’t just visual flair—it’s an early warning system. When the pillar glows orange or red, you have only a few seconds to evacuate before the flames hit. Blue light, on the other hand, signals a short window of safety during the EMP pulse.
Sound also matters. The alarm plates make a distinct metallic hum right before they appear. Experienced players can locate them by ear, even through the chaos of the hazard cycles. The fire wave has a deeper roar that builds up seconds before the ignition, giving you just enough time to retreat if you’re paying attention.
In short, always keep your eyes and ears open. The Harvester doesn’t try to kill you silently—it announces its intentions. Learning to interpret those cues will save your life and make every subsequent run easier.
Common Mistakes and How to Avoid Them
Most failures in the Harvester come from panic and poor timing, not lack of firepower. Players often start looting random cabinets instead of focusing on canisters — a fatal distraction. Ignore everything that isn’t glowing blue. Get your three canisters, finish the puzzle, then loot.
Another common mistake is staying inside during the orange glow. The fire wave doesn’t forgive even partial exposure; one or two seconds too long can end your run. Treat every orange flash as an instant evacuation order.
The next big error is ignoring yellow plates when they spawn. If you don’t clear them fast enough, the puzzle locks and resets, wasting all your progress. Move immediately when you hear the alarm buzz.
Finally, many players lose everything because they don’t plan an escape route. Before you insert the last canister, know exactly which vent you’ll use to get out. The final phase draws attention — be ready to vanish the moment you’re done.
Gear and Build Tips for Harvester Runs
You don’t need heavy firepower to beat the Harvester — you need agility. Mobility and awareness win this encounter, not brute strength. Light armor and stamina-boosting gear let you move between hazards without losing time. Because EMP pulses drain shields, consider dropping or minimizing shield use entirely. Bring medkits and quick-repair tools instead of grenades or deployables; survival tools matter far more than damage output inside the puzzle room.
Weapons should be fast and accurate. Mid-range rifles and SMGs work best for hitting yellow plates. Keep a melee weapon ready for instant clears — it’s faster and reliable even when the room’s lighting goes haywire. If you plan to fight the Queen after finishing the puzzle, switch your loadout afterward. During the puzzle itself, weight and speed are your best allies.
Recommended setup for smooth Harvester runs:
- Armor: light or medium gear with stamina or sprint bonuses; skip heavy plates.
- Shield: optional or minimal — EMP pulses will constantly disable it anyway.
- Healing tools: fast-use medkits, repair kits, or consumables that restore health on the move.
- Weapons: a precise mid-range rifle or SMG for alarm plates, plus a melee weapon for quick clears.
- Utility items: mobility boosters, lightweight grenades, or items that shorten recovery animations.
- Perks or mods: prioritize stamina regeneration, faster breaching, and reduced environmental damage over raw DPS.
This setup keeps you light, responsive, and resilient — exactly what you need to survive the Harvester’s fire cycles and unpredictable timing.
Rewards and Blueprints
Finishing the Harvester Puzzle rewards you with three loot canisters that spawn from the central pillar. Each one holds something worth your time — valuable resources, crafting materials, and, with a bit of luck, rare weapon blueprints. The two most sought-after drops are the Jupiter sniper rifle and the Equalizer LMG, both exclusive to Harvester runs and prized for their versatility and raw power.
Here’s what you can expect to find inside the Harvester’s loot canisters:
- Crafting resources: high-tier alloys, electronics, and enhancement materials for upgrading your gear.
- Credits: useful for crafting costs and vendor purchases after extraction.
- Weapon mods: performance boosters like recoil stabilizers or reload accelerators.
- Legendary blueprints: rare weapon plans such as Jupiter and Equalizer, which only drop from Harvester events.
Once the loot spawns, grab the most valuable items first and stash them in your safe pocket. Anything left in your regular inventory is at risk — if you die before extraction, it’s gone for good. The Harvester doesn’t reward greed or hesitation; survival is as much a part of the puzzle as the canisters themselves.
Over time, mastering this event becomes one of the most consistent ways to farm top-tier materials and expand your arsenal. What starts as chaos quickly turns into rhythm — a cycle of precision, timing, and profitable rewards.
Troubleshooting and Odd Situations

Sometimes the Harvester behaves differently from run to run. A canister might spawn behind a less obvious cabinet, or the fire cycles might seem faster than usual. Don’t panic — it’s all part of the randomization. Keep breaching every panel until you’ve checked the entire ring.
If fire waves keep catching you mid-slot, you’re pushing too late into the orange phase. Wait for the next blue glow before inserting canisters. And if yellow alarms take a few extra seconds to appear, just hold your position — they sometimes trigger with a slight delay.
When enemies or even the Queen appear mid-puzzle, it’s better to retreat and reset than to try fighting both the event and the hazard cycles at once. Patience saves gear.
Speedrun Notes
Once you’ve mastered the basics, speedrunning the Harvester becomes a satisfying challenge. The secret is route efficiency and timing. Memorize the panel layout so you never double back. During blue phases, stage all canisters near the pillar, then slot them right as the next EMP pulse starts — that’s your longest safe window before fire returns.
Use melee attacks for alarm plates; they’re faster than shooting and guarantee instant clears. Keep communication short and sharp if you’re in a squad — “Top clear,” “Left done,” “Blue phase,” and you’re moving again.
The best squads loot and extract within thirty seconds of completion. The longer you linger, the more likely you’ll draw enemies or rival players.