

The SHD Exposed global event is back in The Division 2 Y8S1 (Rise Up season), and it plays completely differently from anything else on the event calendar. Most players treat the Exposure debuff like a damage penalty to avoid. That’s the wrong read — it’s the primary weapon, and knowing how to flip it onto enemies is what separates a slow grind from a fast clear.
This guide covers the full mechanic, every daily challenge across the event’s run, the three builds that hold up best under event conditions, and how to make the most of your Stars before the vendor disappears. Day 4 and 5 challenges are confirmed incoming — check the update note at that section.
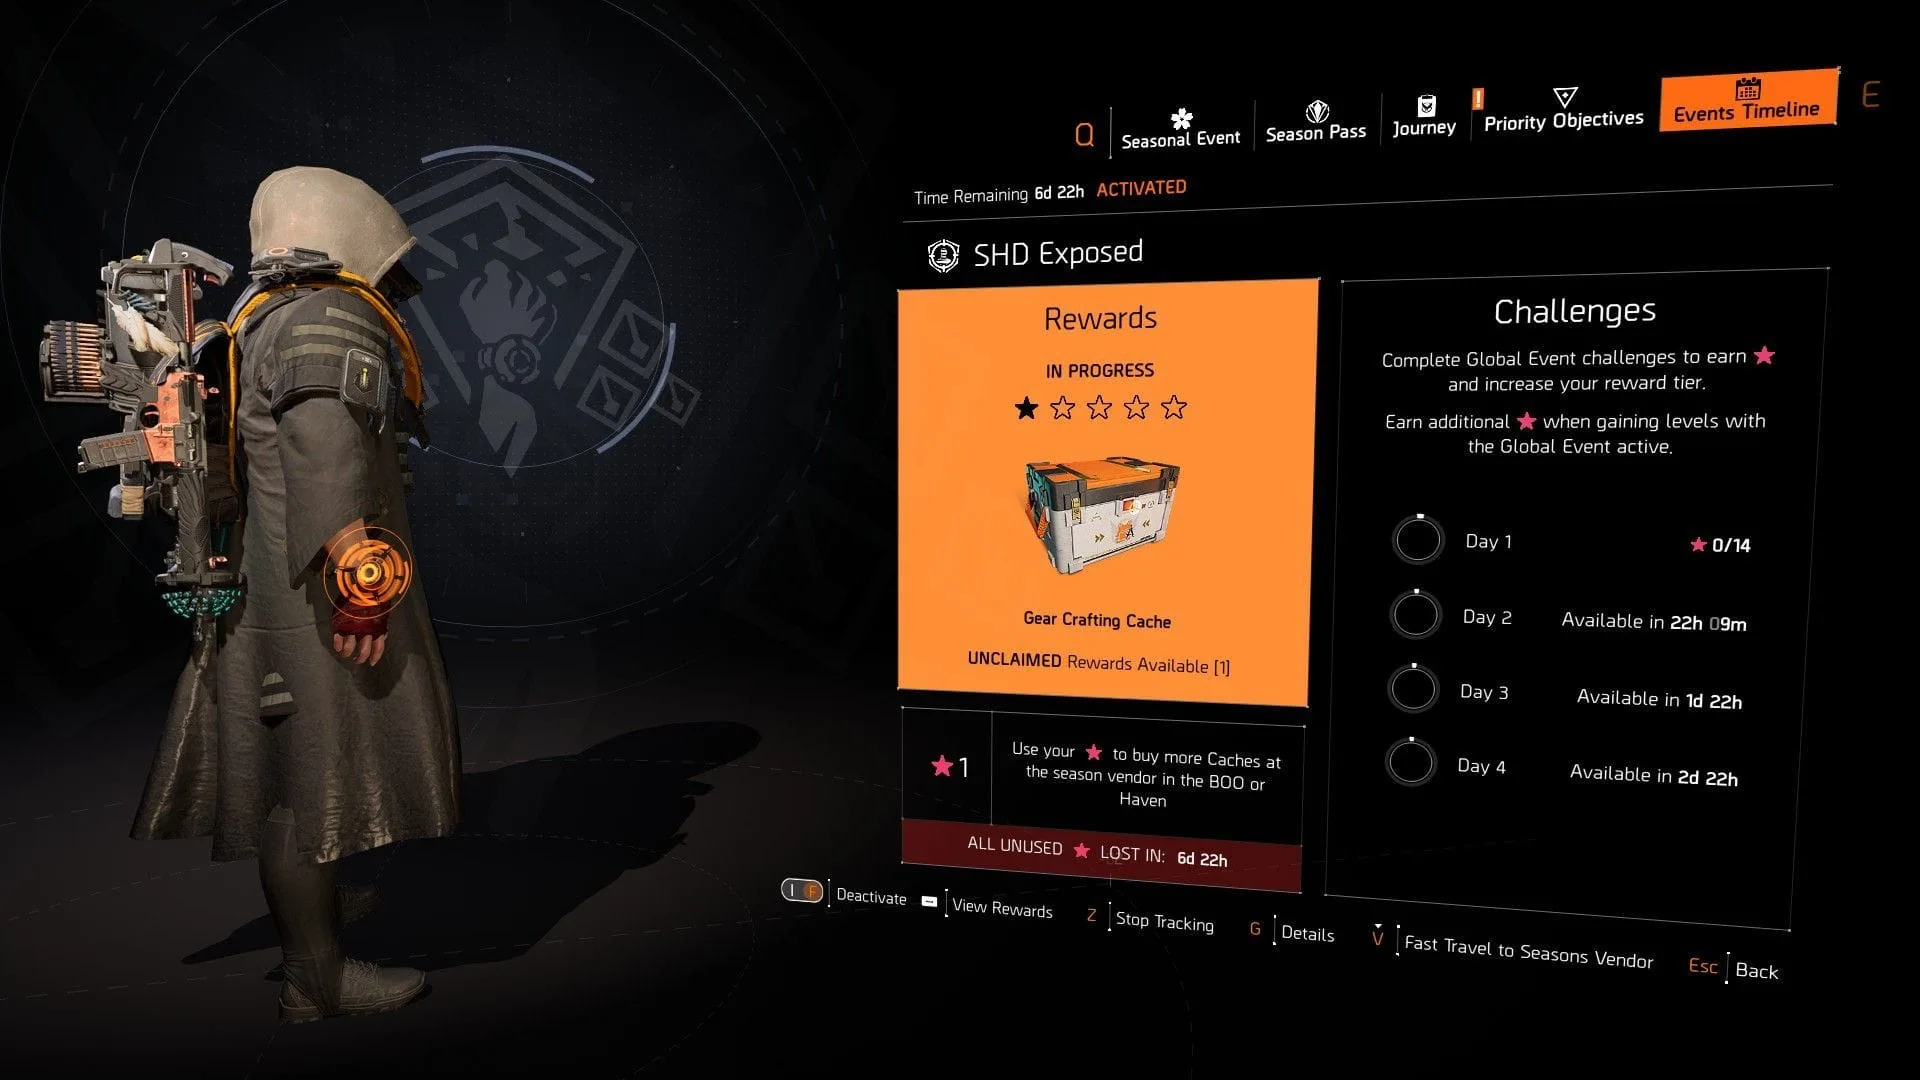
How the SHD Exposed Debuff Actually Works (And Why Players Get It Wrong)
When you activate the SHD Exposed modifier from the Event Timeline page, any enemy that spots you will trigger the Exposed debuff on your agent. You’ll see a red icon appear below your health bar with a filling meter. While it’s active, you take 65% increased damage from all sources — that’s not a small penalty.
The meter fills faster the more you move around in the open. Stay behind cover and it builds slowly. Break cover, sprint between positions, and it fills fast.
Here’s the part most players miss: the debuff is meant to go on the enemies, not stay on you.
Two ways to transfer it:
- Cover-to-cover move — wait until the Exposure meter is full, then perform a cover-to-cover sprint toward enemies. This sends out a red pulse, staggers nearby enemies, and transfers the Exposed status to all of them at once.
- Melee attack — you don’t need a full meter for this one. Run up to an enemy and hit them. The Exposed debuff transfers directly to that single target.
Once an enemy carries the Exposed status, they take increasing bonus damage based on how much Exposure they have. Kill one Exposed enemy and the debuff spreads to surrounding targets automatically. The loop: get spotted → fill the meter → transfer via cover-to-cover → delete the now-vulnerable group.
Buy services for
The Division 2!
Get help with the parts of the game that take the most time. Browse available services or place a custom order.
Order
Division 2 SHD Exposed Daily Challenges: Full Breakdown (Days 1–5)
New challenges unlock each day for the first four days of the event. Missed days stay accessible, so you can always go back and complete them. Each day adds to your total Star count.
Day 1 Challenges — Exposure Fundamentals (14 Stars)
Day 1 is designed to teach the core loop. Every objective connects directly to the debuff mechanic.
| Objective | Quick Method |
|---|---|
| Eliminate 100 hostiles with Exposure maxed | Drop difficulty to Normal, let meter fill, kill without cover-to-cover or melee |
| Transfer full Exposure via melee (25x) | Punch enemies when meter is full — no need to wait for a group |
| Expose hostiles through cover-to-cover | Fill meter, sprint between covers near an enemy group, repeat 25x |
Day 2 Challenges — Enemy Kills Under Event Conditions (14 Stars)
Day 2 shifts focus to volume. Two main objectives:
- Eliminate 100 Exposed Hostiles — Transfer the debuff, kill the enemy, let it spread. When the chain dies out, re-apply and repeat.
- Eliminate 30 enemies with your Specialization weapon — Swap to any Specialization weapon and farm. Gunner with an LMG clears this fastest given the ammo capacity.
Day 3 Challenges — Mixed Objectives (13 Stars Total from Days 1–3: 41 Stars)
Day 3 moves away from the debuff loop and leans into general gameplay objectives. Six tasks total:
- Eliminate 100 Zero-Exposure Hostiles — Kill enemies without transferring your Exposure buff at all. Don’t melee, don’t cover-to-cover. Just shoot them normally while the debuff sits on you.
- Break weakpoints on Exposed Hostiles — Hyena and Outcast enemies work best here. They have multiple pouch weakpoints. Transfer the debuff, then shoot the pouches.
- Disrupt 3 Hostiles at once (25x) — Equip a Jammer Pulse and use it on grouped enemies. Go anywhere enemies bunch up — Control Points and mission areas work well.
- Complete 10 Bounties — Save hostages on the DC map, speak to them to trigger bounties. Chain these back to back.
- Eliminate Elite Cleaners — The Pathway Park mission in New York on High difficulty or above is the fastest source. Run it once or twice to finish this and the mission completion objective simultaneously.
- Complete a mission on Hard or above — Pathway Park covers this at the same time.
Days 4 & 5 — ⚠️ Challenges Incoming
3 Best Builds for the SHD Exposed Event in Division 2
The event’s damage window is narrow — you transfer the debuff, enemies are vulnerable, and you need to output as much damage as possible in that window. These three builds do exactly that across different enemy densities and scenarios.
Build 1: Pestilence + Lengmo — AoE Group Delete
Pestilence spreads a plague-like tick damage to nearby enemies on each kill. Combined with the SHD Exposed debuff — which already spreads on kill — you get two simultaneous AoE chains running at once. Dense packs evaporate.
Gear setup:
- Lengmo Brand Set (Helmet, Backbone Named Backpack, Holster) — grants +30% LMG damage
- Overdogs Exotic Gloves
- Turmoil Named Ceska Kneepads — spreads initial hit damage to surrounding enemies
- The Sacrifice Chest with Perfect Glass Canon talent
- All 6 armor cores in red (damage)
- ~55% Critical Rate / ~135% Critical Damage
- Pestilence Exotic LMG as primary
- Reviver Hive in one skill slot (safety net with Perfect Glass Canon)
- Gunner Specialization
How to play it: Open a fight by landing Pestilence hits on a red-health enemy, kill them, and let the plague spread. Meanwhile, transfer your Exposure debuff via cover-to-cover before the first kill. Both the Pestilence chain and the Exposed spread activate together. Most groups are gone before you reload.
Best for: High-density open world encounters, Control Points, mission mob packs.
Build 2: Ongoing Directive + Tinkerer — Bleed DPS Loop
Ongoing Directive grants bonus weapon damage on kills that inflict status effects, and Tinkerer keeps the talent cycling. The key is the bleed application from the Banshee talent — kill one red-health enemy to proc bleed rounds, then those bleed rounds do the work on the next target, and so on indefinitely.
Gear setup:
- Ongoing Directive gear set (at least 3 pieces for the talent)
- Tinkerer talent on a weapon
- A rifle or AR that procs status effects reliably
- Red cores for weapon damage
- Gunner or Demo Specialization depending on enemy type
Rotation:
- Spot a red-health enemy (non-armored)
- Apply Banshee → kill them → bleed rounds activate
- Kill next enemy → bleed spreads → weapon damage stacks increase
- Transfer Exposure debuff via cover-to-cover once chain is running
- The stacked weapon damage + Exposed debuff = extremely fast clears
Best for: Mixed compositions, sustained DPS situations, when you need reliable damage across a full mission rather than burst windows.
Build 3: Striker — Named Boss Under 5 Seconds
Striker builds stack weapon damage with each hit, ramping up quickly. Under the SHD Exposed debuff, once enemies carry the Exposed status, the Striker’s stacked damage hits a ceiling most builds can’t reach. Named bosses on high-tier Escalations die in under 5 seconds with full stacks.
Gear setup:
- Striker gear set: Backpack, Gloves, Kneepads, Holster
- Coyote’s Mask Exotic (headshot damage)
- Equalizer Named Chest Piece
- Decoy or Crusader Shield as one skill
- Reviver Hive as the second skill
- Gunner Specialization
- Chameleon or St. Elmo’s Engine AR as primary
- Minimum 55% Crit Rate / 130% Crit Damage
How to play it: Build Striker stacks on trash enemies before the boss encounter. Transfer the Exposure debuff to the boss via melee or cover-to-cover the moment they spawn. Hit Coyote’s headshot bonus, fire with full stacks — the boss health bar empties before most players would have reloaded once.
One common mistake: Entering a boss room without pre-built Striker stacks. Always get 20–30 stacks on nearby enemies first, then move to the boss. Losing stacks mid-encounter by dying or going too long without a kill resets the burst window.
Best for: Named boss farming, high-tier Escalations, any scenario where you need single-target burst in a short window.
SHD Exposed Event Vendor: Location, What to Buy, and Priority Order
The vendor is easy to miss if you don’t know where to look. Go to the White House base, head into the open courtyard with the Helipad on the right side of the spawn point. The Event vendor NPC sits right next to the Countdown vendor. Interact with them and select the “Events Vendor” tab.
Available caches and Star costs:
| Cache Type | Cost (Stars) | Priority |
|---|---|---|
| Exotic Cache | 20 Stars | High — buy first |
| Named Item Cache | 8 Stars | High — strong value per Star |
| Optimization Cache | 12 Stars | High if you're working on expertise levels |
| Legacy Season Cache | 12 Stars | Medium |
| Recalibration Crafting Cache | 3 Stars | Low — useful filler |
| Weapon Crafting Cache | 3 Stars | Low |
| Gear Crafting Cache | 3 Stars | Low |
One rule to remember: All unspent Stars are lost when the event ends. Don’t save them. If you’ve exhausted the high-priority caches, burn remaining Stars on 3-Star options rather than leaving them on the table.
The tiered reward track (10 tiers) unlocks cache rewards automatically as you earn Stars from daily challenges. After clearing the track, all extra Stars go directly to vendor purchases.
How to Stack 3x Conflict XP With SHD Exposed for Faster SHD Level Farming
This is one of the most overlooked combinations during event weeks. The 3x Conflict XP bonus and the SHD Exposed event can overlap on the calendar — and when they do, you can grind SHD Watch levels at a rate that doesn’t normally happen outside of the 5x XP weeks.
Here’s how to use the overlap efficiently:
- Activate the SHD Exposed modifier from the Event Timeline page before queuing anything
- Check your current SHD Watch progress — leveling the Watch while the event modifier is active counts toward earning Stars
- Queue Conflict matches during the 3x XP window — Skirmish and Domination both count for the multiplier
- SHD Watch levels gained inside Conflict contribute to your Star total for SHD Exposed simultaneously
- Between Conflict queues, run open world objectives to complete daily challenges and convert those into additional Stars
Realistic output: Active farming with fast queue times runs 20–35 SHD Watch levels per hour during a boosted period. That’s roughly 140–245 levels over a full week of consistent play — a number that takes months at standard rate.
If Conflict isn’t your mode, the open world path still works fine. Running Heroic missions with Directives active generates strong XP, and every level gained while SHD Exposed is active adds to your Star count. The Watch farm and event completion run in parallel, not in sequence.
No Time to Grind the Full Week? Here's What You're Actually Missing
Let’s be straight about the math. Full event completion — all four days of challenges, daily Star farming, and Watch leveling — requires consistent daily sessions across the week. If you work full-time or can’t log in every day, you will miss Stars.
What’s time-gated in SHD Exposed:
- Daily challenges unlock on a schedule — if you miss Day 1, you can still complete it later, but the Star window per day is fixed
- The vendor closes when the event ends — unspent Stars disappear
- Named Item Caches and Exotics from the vendor are event-exclusive buys
The honest math: Days 1–3 alone give 41 Stars. A full four-day run puts you well into Exotic Cache territory. Miss two days of challenges and you’re looking at 27 Stars or fewer — enough for vendor filler, but not the high-priority pulls.
If your schedule doesn’t allow 6+ hours across the week, a Division 2 event boost service covers the daily challenge completions while you’re offline. You keep all the loot, Stars, and Watch XP earned in the process. Worth considering if you’re targeting the Exotic Cache or Optimization pulls specifically and know you can’t grind all four days.
Buy services for
The Division 2!
Get help with the parts of the game that take the most time. Browse available services or place a custom order.
Order