











Prey is the open-world hunting system in WoW Midnight, and Nightmare difficulty is where it stops being a side activity and turns into one of the toughest solo challenges in the expansion. You pick a target, chase it across the zones of Quel’Thalas, survive its ambushes, and finish it off in a locked arena fight. No group, no safety net, just you and a target that hits back hard.
This guide breaks down exactly how Nightmare Prey works, from unlocking it through Astalor Bloodsworn to the torments that make the fights brutal. It also covers every reward tied to the system, including gear item levels, Great Vault progress, currencies, mounts, and cosmetics. If you’re trying to decide whether Nightmare Prey is worth your weekly time, or you just want a clear walkthrough of the mechanics, everything you need is below.
The information here reflects Patch 12.1 and Season 2, including the Coiled Isle content and the updated Preyhunter’s Journey track. Numbers, torments, and unlock requirements can shift with future hotfixes, so treat this as your current-patch reference point.
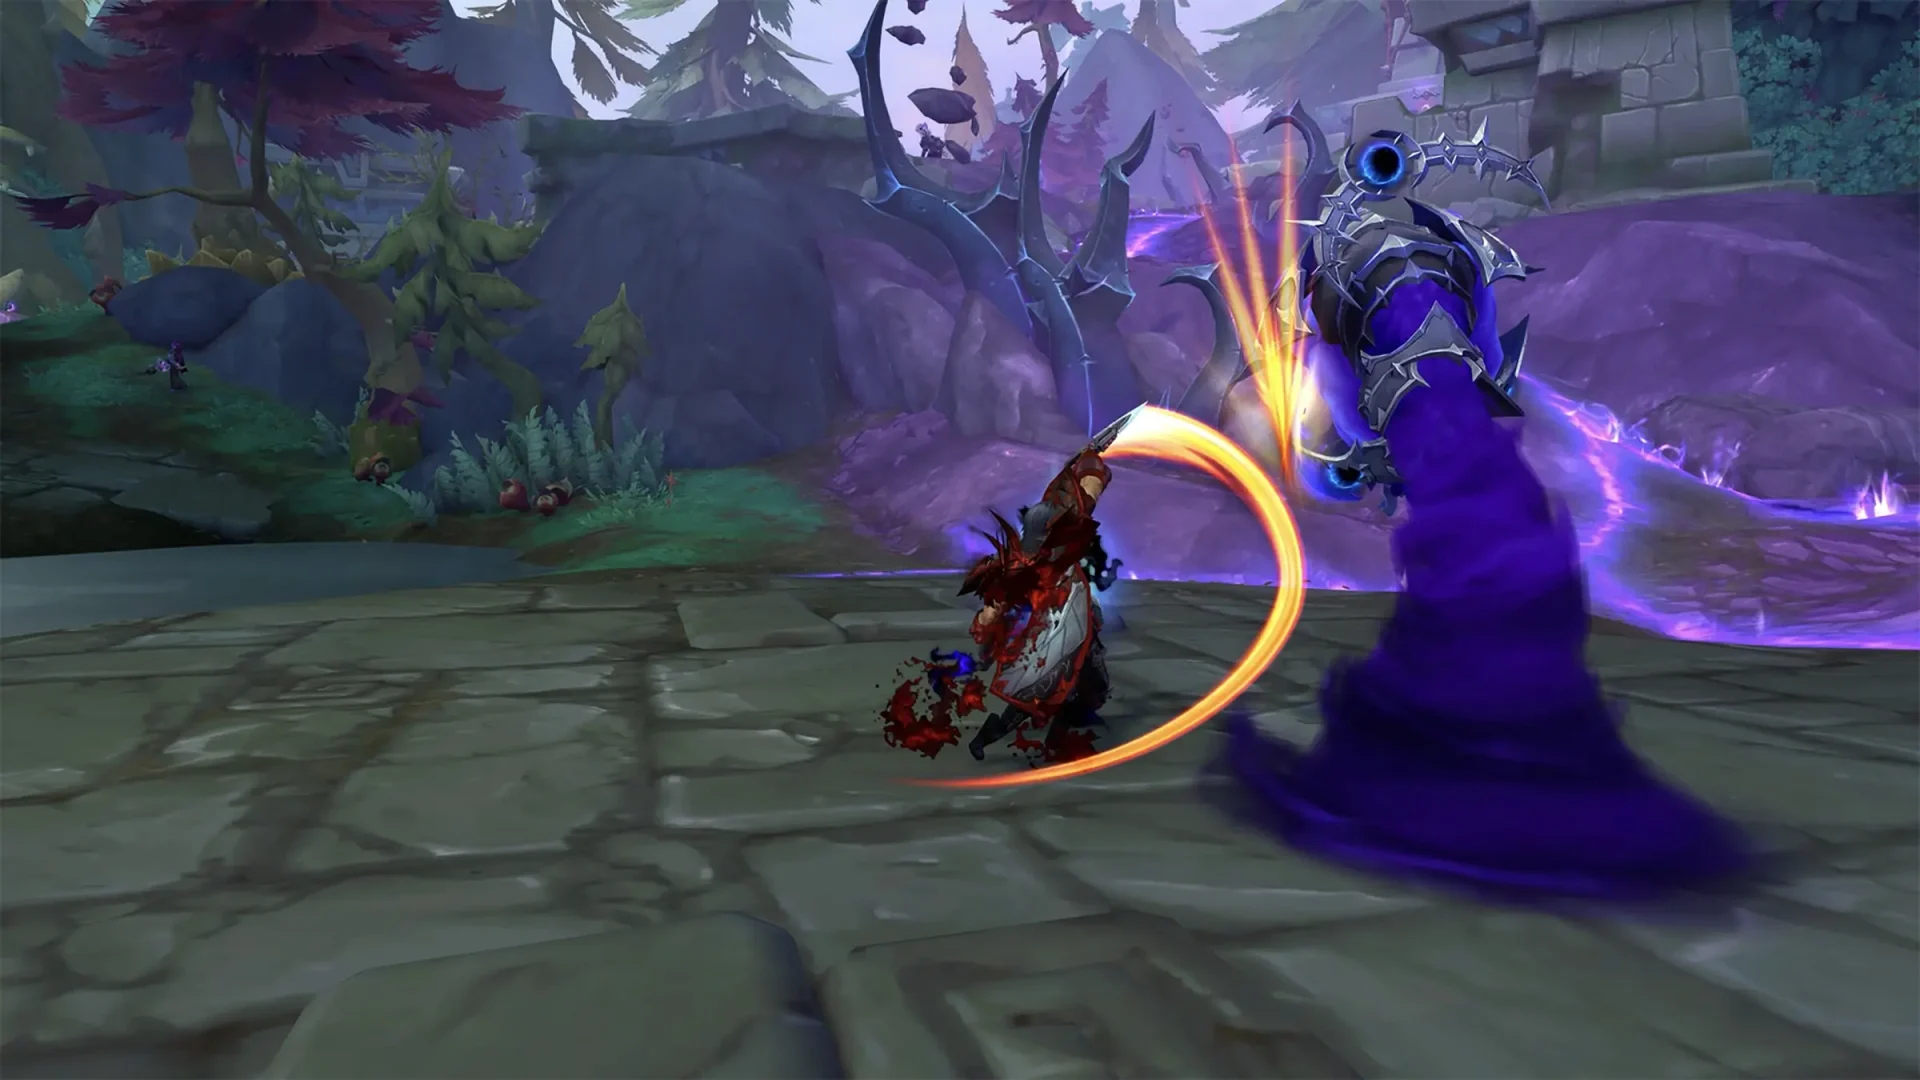
What Is the Prey System in Midnight
Prey is an opt-in world activity built around Astalor Bloodsworn in Silvermoon City. Once you turn it on, certain creatures across Midnight’s zones become hunt targets, and one of them becomes your personal Prey. You track it down, fight it, and collect rewards for the kill.
The system runs on three difficulty tiers: Normal, Hard, and Nightmare. Normal is the casual version where other players can jump in and help. Hard and Nightmare strip that away and force solo combat with extra mechanics layered on top. This guide focuses on Nightmare, since that’s where the best gear, the hardest fights, and the most interesting mechanics live.
How to Unlock Nightmare Difficulty
Getting to Nightmare Prey takes a few steps, but none of them are hidden or grindy in a bad way.
- Reach level 90 on your character.
- Travel to Astalor’s Sanctum in Silvermoon City and pick up “Prey: Astalor’s Initiative.”
- Complete the introductory questline through “To the Sanctum!” This unlocks the Hunt Table and Normal difficulty.
- Hard and Nightmare Hunts become available at the same Hunt Table right after you finish the intro chain. You don’t need a separate unlock quest for them anymore, unlike in earlier seasons.
A few Nightmare-specific quests appear later in the chain, marked with a purple triangle icon. They’re short, but they set up mechanics you’ll want to understand before diving into a Nightmare fight, so don’t skip them.
One thing worth knowing if you’re leveling an alt: there’s no account-wide skip. Each character has to run through Astalor’s questline on its own before Nightmare opens up.
Normal vs Hard vs Nightmare: What Changes
The three difficulties aren’t just a damage slider. Each one changes how the hunt plays out, how much company you can bring, and what quality of loot you walk away with.
| Difficulty | Combat Style | Key Mechanic | Gear Item Level | Great Vault Track |
|---|---|---|---|---|
| Normal | Open world, other players can help | Basic ambush only | 266 (Adventurer) | Veteran |
| Hard | Solo, locked arena | Torment: +2% damage taken per stack | 279 (Veteran) | Champion |
| Nightmare | Solo, locked arena | Torment: +4% damage taken, plus +4% every 60 seconds outside a rested area | 292 (Champion) | Hero |
Nightmare also pulls in every torment from the lower tiers, so you’re not just facing a harder version of one mechanic. You’re facing all of them stacked together. That’s the main reason Nightmare fights feel like a different game compared to Normal or Hard.
How a Nightmare Hunt Works Step by Step
Once Nightmare is unlocked, running a hunt follows a consistent pattern:
- Pick your target. Interact with the Hunt Table in Astalor’s Sanctum. A map opens showing every Midnight zone and the Nightmare target tied to each one. You get one Nightmare hunt per zone per week.
- Head to the zone. After selecting a target, travel there. An Anguish Crystal appears on your UI and tracks your progress toward revealing the target’s location.
- Build progress. Progress comes from completing World Quests, looting treasures, killing rares, disarming traps, and finishing Prey-specific objectives. The fastest route is usually the dedicated Prey World Quest that spawns for your target.
- Survive ambushes. While you’re out in the zone, your target has a chance to jump you mid-fight or mid-objective. You have to deal with it on the spot.
- Locate and engage the target. Once the Anguish Crystal fills, the target’s exact location lights up on your minimap. Interact with the blood crystal there to start the fight, which takes place in a locked arena.
- Collect your rewards. Defeating the target brings up a loot summary, and a portal spawns nearby to send you straight back to Astalor’s Sanctum.
Because a lot of hunt progress comes from regular world content you’d be doing anyway, Nightmare hunts rarely feel like a separate grind. The exception is the final fight itself, which demands your full attention and usually a solid consumable setup.
Nightmare Torments Explained
Torments are the affix layer that makes Hard and Nightmare fights genuinely dangerous. On Nightmare, every torment below it is active at the same time, and the core Torment effect hits harder.
- Torment – Stacking damage taken, increasing by 4% per stack and gaining another 4% every 60 seconds spent outside a rested area. This is the mechanic that punishes slow or overly cautious play.
- Ambush – Your target can appear and attack while you’re doing unrelated content in the zone.
- Pack Ambush – A tougher version of Ambush where the target brings help.
- Exploding Corpse Snakes – Enemies leave behind hazards on death that you need to avoid or clear quickly.
- Toxic Snare – A movement-restricting effect that punishes players who stand still too long or fail to reposition.
None of these torments are fight-ending on their own. The difficulty comes from managing all of them at once while also tracking the target’s actual boss mechanics in the arena.
Surviving an Ambush
Ambushes are unpredictable by design. There’s no timer or warning marker telling you when one is coming, so you need a plan before it happens rather than after.
You can end an ambush two ways:
- Bring the target down to 50% health during the encounter.
- Use a Disarmed Trap on it. These items drop occasionally after you disarm traps out in the zone, so it’s worth grabbing every trap you pass while farming hunt progress.
Once the target flees from a successful defense, you can Riposte it for extra hunt progress. Keeping a couple of Disarmed Traps in your bags at all times is a simple habit that saves a lot of frustration during Nightmare farming.
Ral'kala and the Coiled Isle Curse Mode
Season 2 added a second Nightmare-level boss that works differently from the standard Prey targets. Ral’kala lives on the Coiled Isle and can be fought repeatedly, not just once per week.
To unlock it, finish the first chapter of the Curse of Ula’tek storyline, then pick up “Prey: A Slithering Threat” from Astalor. This questline introduces Ossified Relics, a Warband currency you collect only while the Curse of the Isle debuff is active.
Here’s how the loop works:
- Talk to the Image of Astalor Bloodsworn on the Coiled Isle and turn on Curse of the Isle. You can’t do this while already on an active hunt.
- With the curse active, you take on Nightmare-level torments across the whole zone and start collecting Ossified Relics from loot, World Quests, and kills.
- Bring 100 Ossified Relics to a Haunted Brazier to summon Ral’kala.
- Defeat it for Corrosive Souls, Corrosive Coins, the Hooked Net Trap decor, the Pale Hexscale pet, and a chance at the Hexflame Reaver mount.
Because Ral’kala isn’t locked to a weekly cooldown the way zone targets are, it’s the best repeatable source of Corrosive Souls if you’re gearing bracers and belts with their special combat effects.
What Nightmare Prey Rewards
Nightmare pays out the best gear and currency in the entire Prey system. Here’s the full breakdown of what a completed Nightmare hunt gives you.
| Reward Type | Details |
|---|---|
| Gear item level | 292 (Champion 1/6) |
| Great Vault bonus | 305 (Hero 1/6) |
| Mistcrests | 10x Champion Mistcrest, 5x Hero Mistcrest |
| Preyseeker's Chest | Guaranteed gear on your first two Nightmare hunts each week |
| Currencies | Preyseeker's Journey, Coffer Key Shards, Remnant of Anguish |
After your first two Nightmare completions in a week, additional runs stop dropping the Preyseeker’s Chest and instead pay out gold and profession materials. That’s worth planning around if your main goal is gear rather than crafting mats.
You can also spend a Nebulous Voidcore after any hunt to purchase Bonus Loot, giving you an extra shot at gear from that same kill.
Preyhunter's Journey Track Rewards
Every hunt feeds into the Preyhunter’s Journey, a 10-rank seasonal track. You need 4,000 Preyseeker’s Journey points to climb one rank, and the amount you earn depends on how many hunts you’ve already done that week.
- First hunt of the week: 5,000 points
- Next three hunts: 1,000 points each
- Every hunt after that: 50 points
A few ranks matter more than others for Nightmare hunters specifically:
- Rank 4 unlocks Afflicted Souls, which reveal your next Nightmare target instantly and reward a bonus Champion-track chest once per week.
- Rank 9 unlocks Tormented Souls, the Hero-track version of the same reward.
- Rank 10 unlocks custom hunts through Astalor, letting you force a specific target instead of relying on the rotation. It also grants a title and the Preyhunter’s Fury mount for purchase.
- Both Afflicted Souls and Tormented Souls drop from Tier 6+ Bountiful Delves, so running Delves alongside your weekly hunts naturally feeds this part of the system.
Mounts, Pets, and Cosmetics
Beyond gear, Nightmare Prey is one of the better sources of cosmetic rewards this season.
- Preyhunter’s Fury – Purchasable mount at Journey Rank 10.
- Hexflame Reaver – Chance to drop from Ral’kala.
- Preyhunter’s Riftbreaker and Prismguard – Pets purchasable at Rank 8.
- Pale Hexscale – Pet with a chance to drop from Ral’kala.
- Housing decor – Defeating Prey bosses on Hard grants Preyseeker Bust decor, and Nightmare kills grant the matching Effigy version. Once unlocked through the kill, you can buy extra copies from Construct Ali’a in Astalor’s Sanctum.
If you’re chasing a full collection, Nightmare kills are the gate for the Effigy-tier decor, so Hard difficulty alone won’t get you everything.
Weekly Cap and Optimal Routine
Season 2 raised the weekly Hunt cap to 15, up from 12 in Season 1. That gives more room to mix zone hunts, random hunts, and Ral’kala runs without hitting a wall.
A simple weekly routine looks like this:
- Run your four highest-value hunts first, since these give the bulk of your Journey progress.
- Prioritize Nightmare over Hard when you can, since it’s the only difficulty that grants Preyseeker’s Chest gear at the 292 item level.
- Spend Coffer Key Shards on Bountiful Delves after your hunts, since Tier 6+ Delves are where Afflicted Souls and Tormented Souls drop.
- Save Ral’kala for whenever you’ve stacked enough Ossified Relics, rather than waiting for a specific day.
Doing Nightmare hunts late in the week after you’ve farmed consumables and food buffs tends to go smoother than rushing into them cold. The Torment stacking punishes slow, unprepared fights more than it punishes undergeared ones.
